Decorating With Duct Tape
As you may recall, a couple of years ago I decorated the inside of our kitchen island with some funky mustache patterned duct tape…
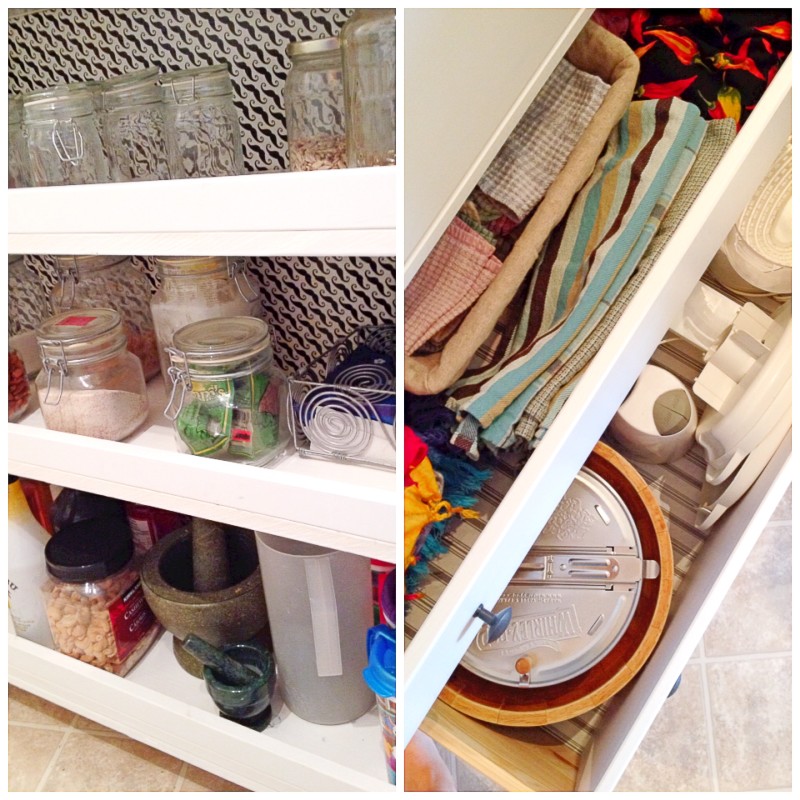
It was an easy and inexpensive way to add some sass to a boring, old, everyday item.
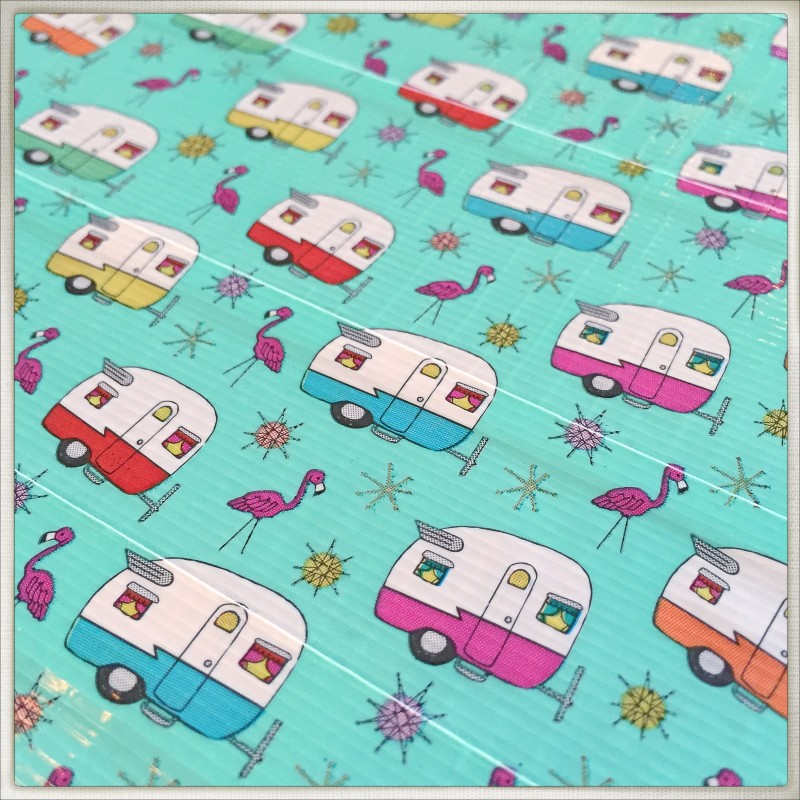
So, when I found this really fun vintage trailer Duck brand duct tape at Michael’s the other day, I grabbed a couple of rolls right away and knew I’d find something fun to do with it eventually!
Now… years ago, I tried my hand at reviving old thrift store suitcases by decoupaging them with wrapping paper…
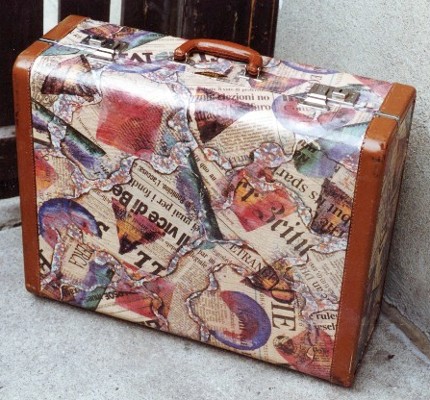
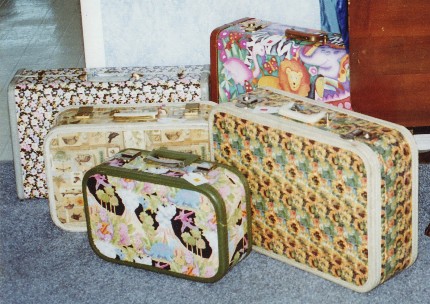
They were time consuming to make, bulky to drag around, and didn’t sell very well at craft fairs (due to the scarcity/expense of really awesome patterns, I assume)… so I abandoned my efforts and moved on to something different.
But I myself LOVE using the suitcases to store craft materials… so I thought, maybe I could use the duct tape to make some more quickly/easily decorated storage space? And then maybe I could show you how to do it yourself too! 😉
Step 1: Find a Suitable Suitcase
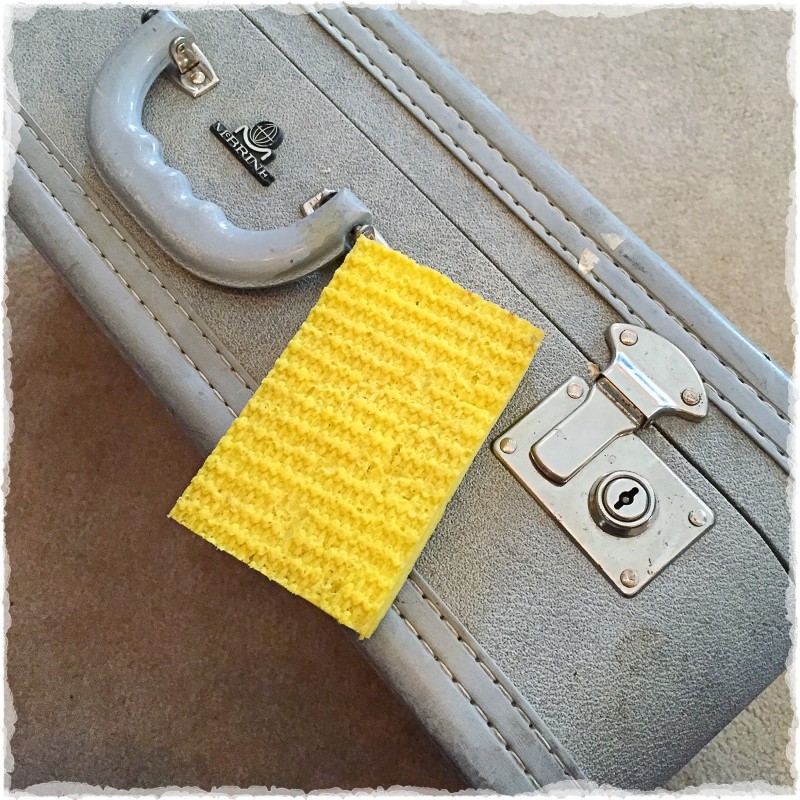
Luckily, I still had a couple of plain ones tucked away in the basement, but they are probably still pretty easy to find at your local thrift store. I got mine for under $10 at Value Village. Make sure the hardware (clasps, hinges, handle) all still work well, and that there is no structural damage or ugly spills inside the case. I also like to get the ones with “rubber bumpers” around the edges – vs. rounded corners – it makes covering it much easier.
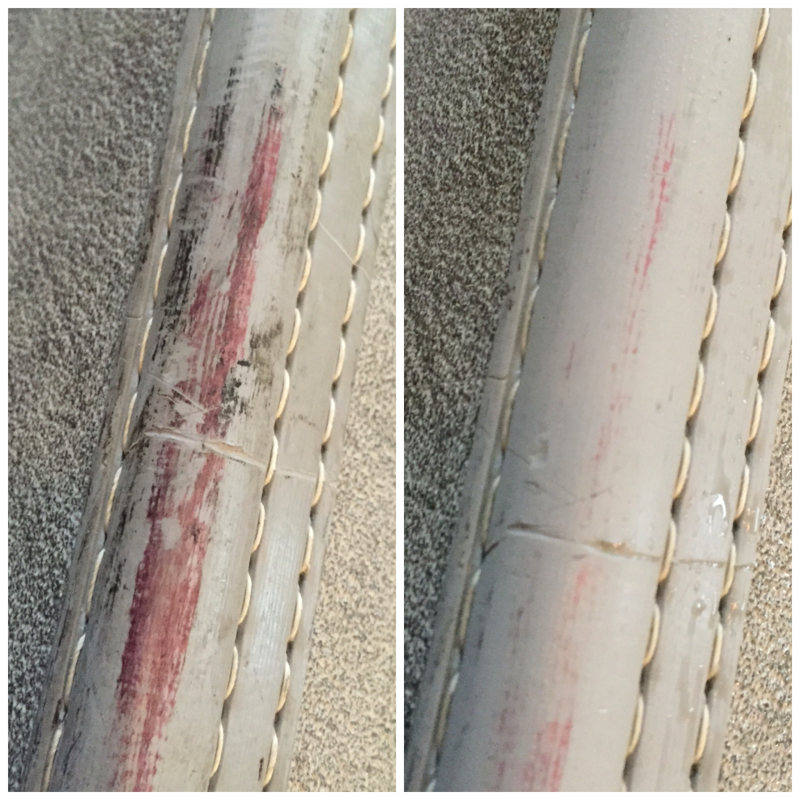
Then give it a good clean. It’s surprising what a little elbow grease will achieve…
Step 2: Gather Your Materials
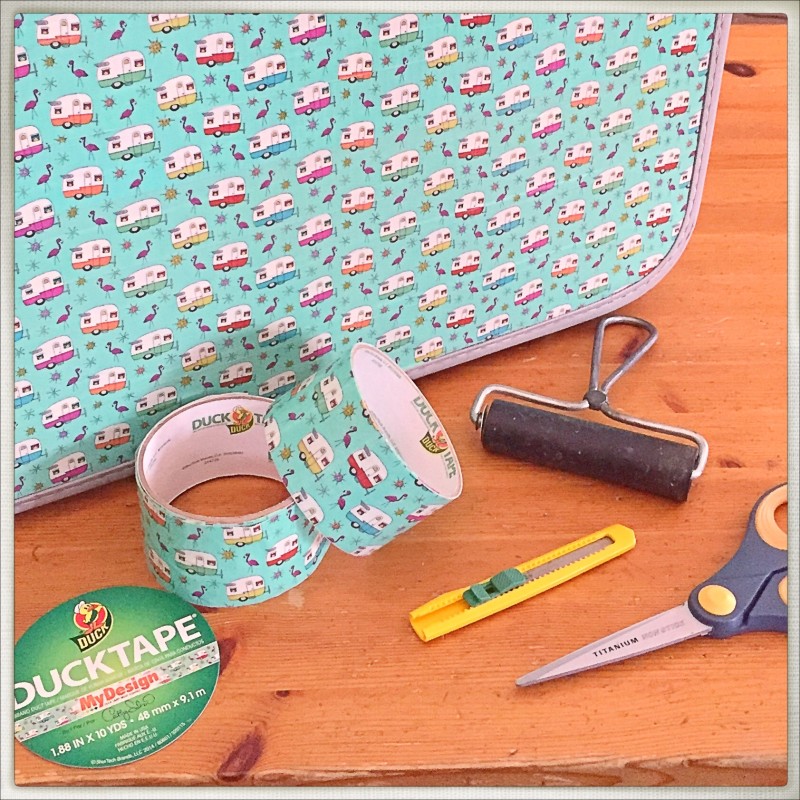
1 suitcase (mine was about 21″ x 14″ x 7″), 2 rolls tape, scissors, craft knife, and brayer (to roll tape down) if you have one (but it’s not necessary).
Step 3: Adding Front & Back Tape
With the handle of the suitcase being the top, unroll a length of tape long enough to go across the face of the suitcase. Tuck it right up down to the “rim”, and rub in place making sure to squeeze out the bubbles along the way. Use your fingernail to burnish it right into the corners of the bumper. Then take a craft knife and run it along to the bumper to trim off the excess tape in the corners. Unroll another length of tape… find where the pattern repeats… align a second row under above the first one, overlapping slightly, and rub into place. Trim as before. (NOTE: after doing the front, I realized you should WORK from the BOTTOM UP, rather than top down… It will catch less dust/debris on the edge of the tape that way… so your second row REALLY should be “above” the first!)
Repeat until the entire front of the suitcase is done… Then do the back of the suitcase in the same way. (REMEMBER: work bottom-up).
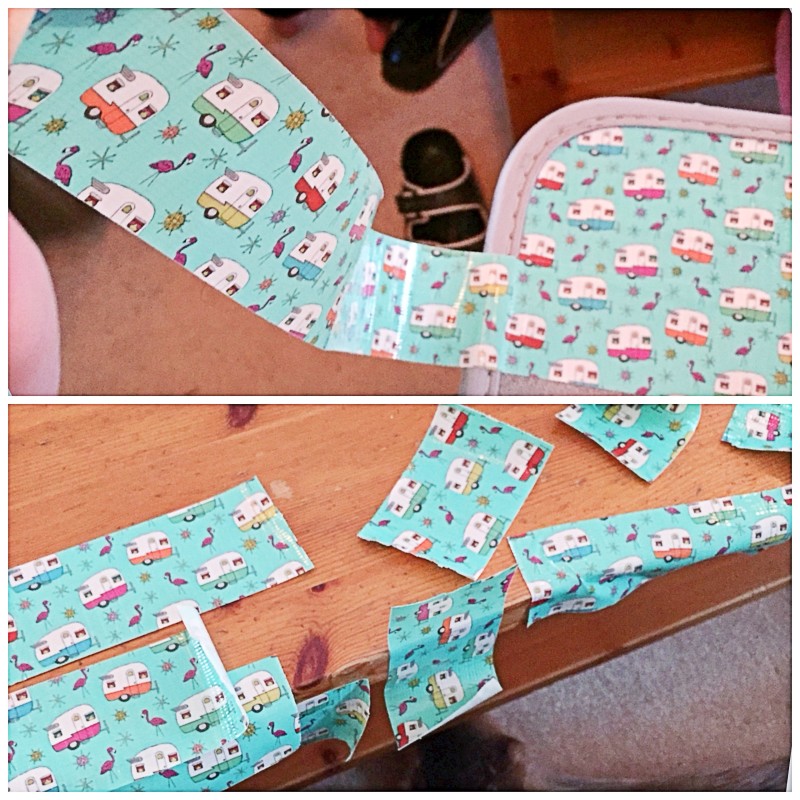
With this particular pattern, I found that the repeat was “odd”. Sometimes, I could line things up with about a 1cm/1/4″ overlap… but there would be about 18″ of discarded tape to get to that point. OR, I could overlap with 2-3cm/1″ overlap… and there would only be 4-5″ of discarded tape. It was strange… but I didn’t want to waste a lot of time figuring it out… so just be sure to get enough tape to do the job (if your suitcase is larger, buy more tape!) and try to use the smaller pieces around the hardware if you can.
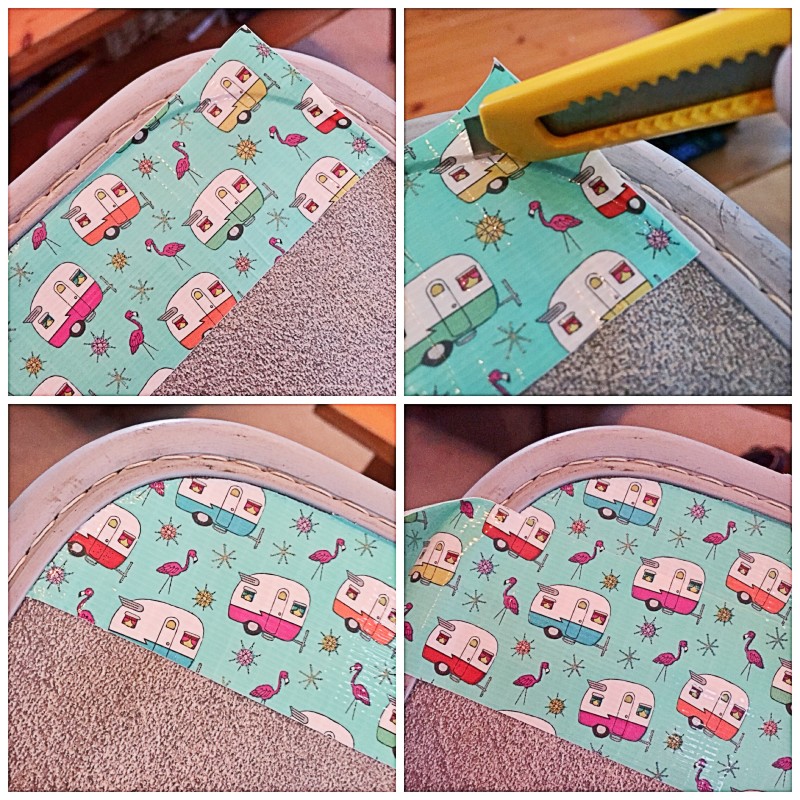
Step 4: The Hard(ware) Bits
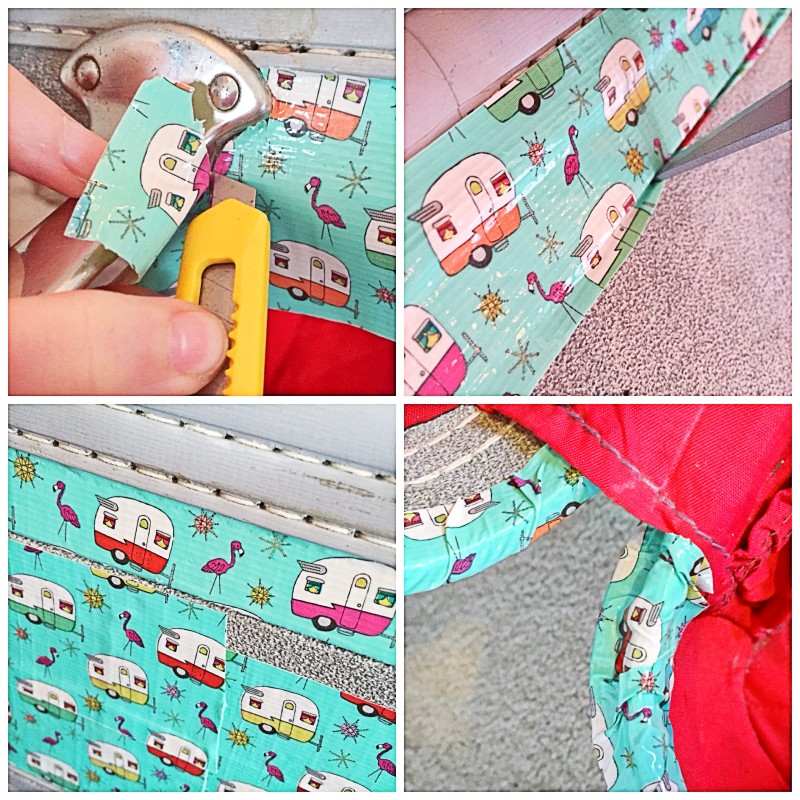
The “around part” of the suitcase is the trickiest. Basically, it is the same process… except you have to do a lot more trimming around hardware. Plus, if you don’t want to remove the middle/inner fabric panel, you’re going to have to use something to help you get the tape into that middle hinged bit (I used my scissors to tuck the tape in along the “bottom”, then lever the tape onto the suitcase to stick). And, as you can see, the wacky repeat aligned things strangely after several loops around the suitcase.
Tips: work bottom-up (the skinny part of the suitcase being the top), start your tape at the bottom of the suitcase (where it sits on the floor), splice (cut into the tape that is going to fold) once or twice at the corners to prevent bunching, unroll and stick a little at a time (or the tape will stick to itself), and be patient – you’ve got this!
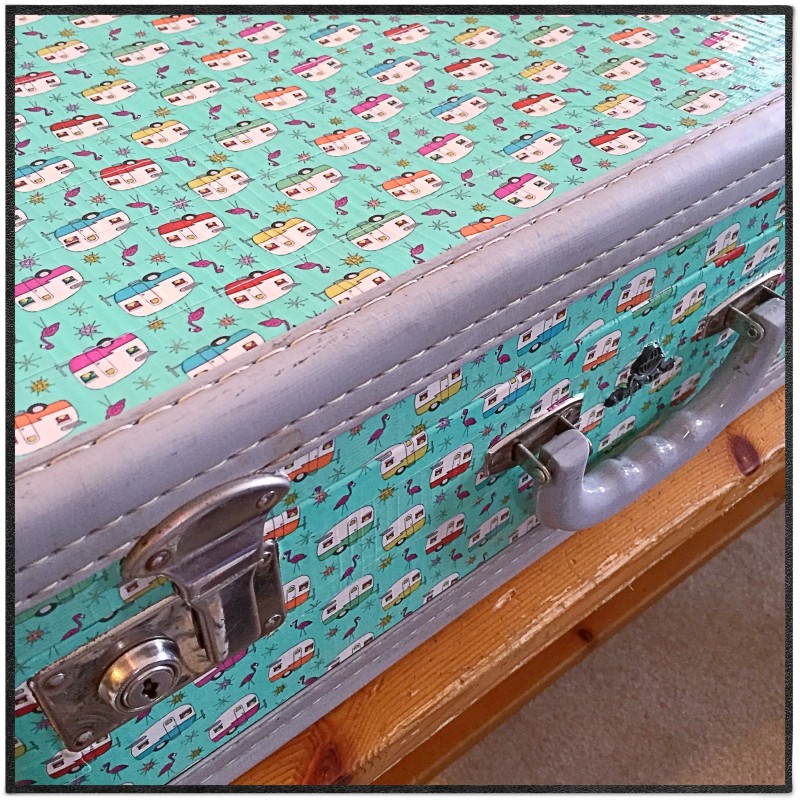
Step 5: Enjoy!
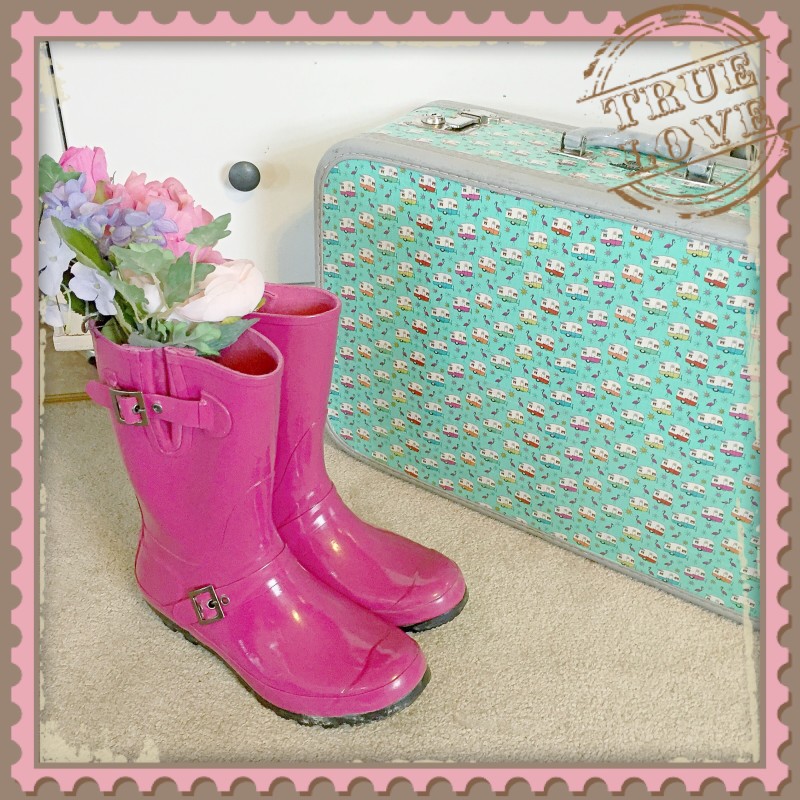
Now that you’ve just created something super awesome, celebrate with chocolate! 😉 Maybe later I’ll fill mine with craft supplies and put it on display. Maybe…
My one concern is that if it gets banged around, the tape might get rubbed off (there are a lot of tape edges on the case) – or it may start to degrade / fall off over time. I’m thinking about varnishing it to help prevent this… but I don’t know how varnish+tape will work together. Hmm… Any thoughts??? I’ll let you know what I decide. 😉 If you attempt this project, please share your results below! Happy crafting!

2 Replies to “Decorating With Duct Tape”
You are amazing, Kate, and truly an inspiration.
I LOVE this!
Aw, thanks Lisa! You say the sweetest things… And you’re pretty inspirational yourself! <3