Stylish Slumber
So. Next week I’m off to visit both my sister and my best friend – who just happen to be living in the same neighbourhood in LA right now. I’m starting to get super excited and super nervous – but that’s a whole other story… One of my big plans while I’m down there, however, is to actually SLEEP through the night – something I have only done a couple of times in the last seven years. As I do not know exactly what my accommodations will be like, I thought I’d better go prepared – so I picked up some ear plugs and thought about investing in a sleep mask.
“A what, now?” you ask. You know, like the one Audrey Hepburn wore in Breakfast at Tiffany’s…

I figured mine should also be pretty stylish, as the friend that I’m visiting is the one who actually introduced me to this movie, manymanymany years ago. But not too fancy, as I wanted it to be very comfortable for sleeping. I didn’t find anything remotely interesting in the store, so I thought I’d make my own. Sadly, my first attempt was rather a bore.

While I liked the original design, I found the fabric really slippery… and the final shape not at all what I intended. And so, as they say, I gave it another go – simplifying my lines a bit on the second version.

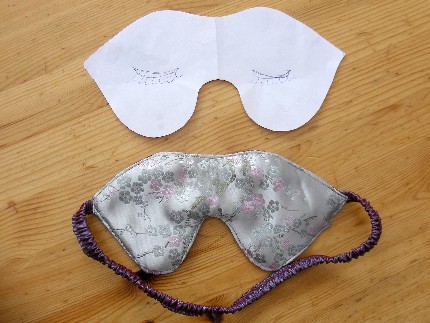
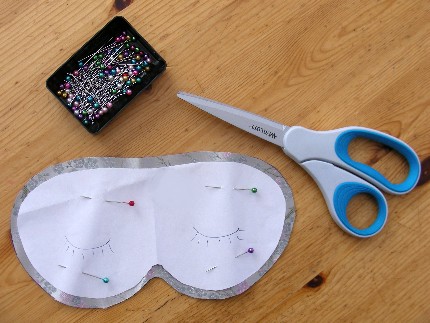
(Here’s a little DIY info, if you’re at all interested…) First, I cut a basic pattern out of paper, testing it out on my face for size and adjusting as necessary. Then, I cut out three pieces of fabric – a “front”, a “back”, and a “stuffing” (I used some scrap polar fleece to give it some form) – leaving about 1cm (~3/8″) extra fabric around the pattern I had made.

Next, I cut a strip of elastic to hold the mask on. I also cut a long strip of fabric to cover the elastic – it was about 2 times as long and 3 times as wide as the elastic so that I could wrap it around the elastic and sew it neatly shut. I would wrap a segment, stretch the elastic (but not the fabric), sew it closed, and then let it all bunch up.

Then it was time to sew the mask. With right sides together, the stuffing on the outside of that, and the elastic band on the inside of the two right sides, I sewed around the edges of the mask… attaching the elastic at the sides as I went, and leaving a small segment open at the top so I could turn it right-side-out. (You can see the elastic sticking out the of the open segment and my index finger is pointing where the elastic was sewn into place on one of the sides.) I trimmed the stuffing close to the stitching, clipped a few corners, and turned the mask right-side-out.

I then topstitched around the edges to close the open segment and hold everything in place better. This is the “back” of the mask – I chose a lovely cherry blossom satine that is both super soft and relaxing to look at…

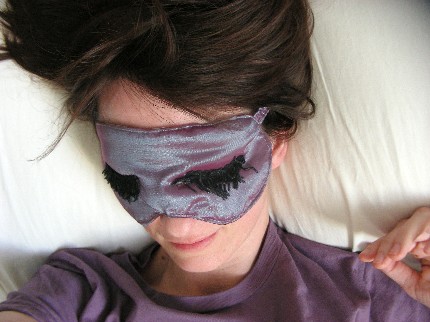
And this is the front, with some embellished “eyelashes” over a slightly rougher (but more colourful) piece of fabric. I think Audrey would approve, although I am probably going to pass on putting tassels on the earplugs. I’m afraid that comfort will be more important than style next weekend… at least while I’m sleeping. 😉

2 Replies to “Stylish Slumber”
I LOVE it!
I mean, we’re talking really classy here!
I hope you have a wonderful time kate, and I hope you get to sleep through the night!
Have a beautiful weekend!
I’m sure it will be FABULOUS!
Have yourself a grand weekend as well!
=) K