Separating Embroidery Floss
So, yesterday I put up a post about crochetting a rock cozy. When I found that regular crochet thread was too bulky for my project, I decided to use a few strands of embroidery floss instead. The trick was… how to separate them from the twisted 6-strand length. I tried to look it up on the interwebs, but the techniques they offered were for short lengths of thread – only about 1 metre at most. Unfortunately, I had 8 metres I was wanting to separate (so that I would have enough to crochet a large motif), so the ideas I found wouldn’t work for me. Hmm. At first, I separated out 3-strands and started pulling them out, trying to untwist as I went – but I just ended up making a big, knotty mess. Time to put on my thinking cap…
Eventually, this is what I came up with.
Step 1: Open The Skein. Remove the wrappers and find the center of all the loops.
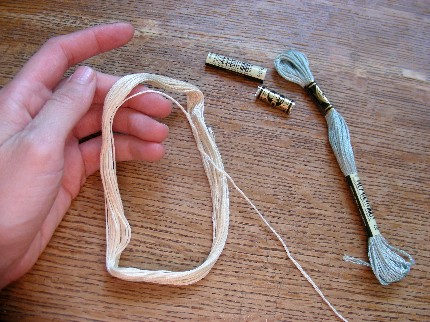
Step Two: Slip The Centre Around Something Heavy. Like a book, or piece of wood, or something similar.
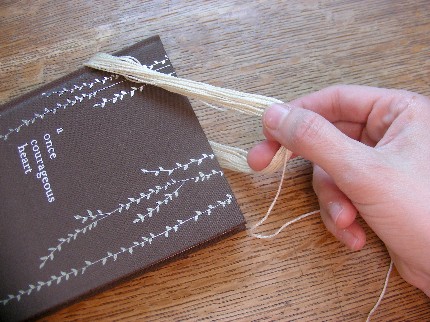
Step Three: Separate Out Your Threads. Initially, I chose two sets of 3-strands, unwinding the thread clockwise to unravel it, then wrapping each set of strands in a tiny, little ball. But this was very time consuming. So…
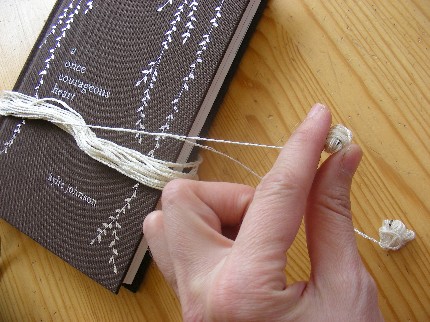
Step Four: Attach Your Separated Threads To A Small But Wide Object. I took two sets of 3-strands and taped them to a little wooden block that my son had. You could use anything for this – a piece of cardboard, a toilet paper roll, another small book… Or, you could also separate out different sized sets of strands – three sets of two, six sets of one, etc.
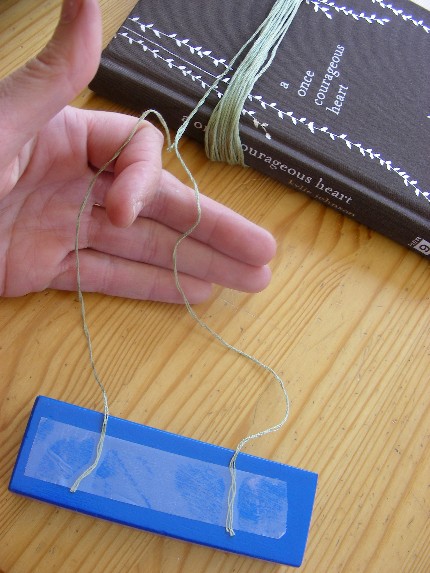
Step Five: Rotate. Turn the block like a propeller to unwind the thread. For me, this was clockwise. When there is a good length of unraveled yarn, roll the block up like a roll of wrapping paper, taking care to keep your sets separate. Unwrap a bit more from around the book and repeat until done.
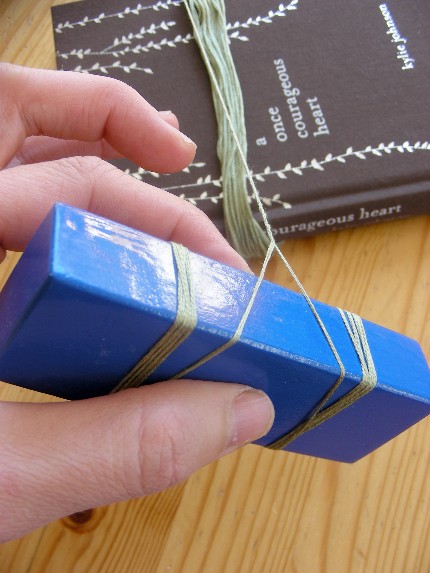
Step Six: Use Your Strands. You can work with it right off the block, or as I prefer, you can wind the string into separate tiny, little balls.
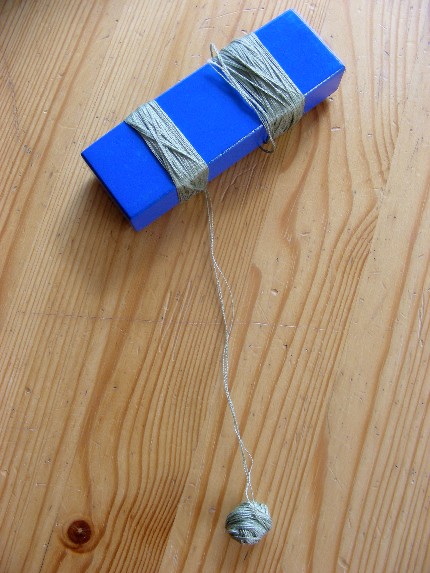
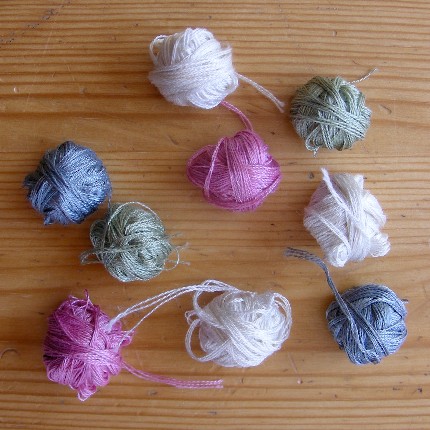
And voila – separated floss threads, in nice long lengths! I like to have all my thread ready to go before I even start my project, and since I only had one block that was that size, I ended up doing four bunches of floss ahead of time. Kinda pretty altogether, don’t you think?
Now, that wasn’t so hard, was it? 😉 Happy crafting!

12 Replies to “Separating Embroidery Floss”
I like the word “skein”. That is all.
=)
Nice work! I was just at an embroidery class (and have a very cool pattern to show you) and I was going to suggest the technique she gave us, but you’re right it’s only for little amounts. Nice thinking Macgyver!
You should see what I can do with a stick of Wrigley’s gum and a potato… 😉
What’s a rock cozy?
The name I came up with for this…
http://www.katewares.com/2011/07/25/is-that-a-rock-cozy/
Hi Kate…
Your floss separating method works great… THANK YOU. I did step it up a notch… I used a thinner block… a binder clip and a piece of non skid… I was able to separate the floss into 2 strands each… taped the strands to the block… I placed the non skid under the book… helps to keep the book from sliding,,, as I separated and wound the strands on the block… the twist built up. I placed the binder clip on the edge of the block to hold all the strands… and then holding up the book I let the block dangle and spin to untwist… I repeated this a few times… and very happy with the results… I found this way works best for me.
Awesomesauce, Cheryl!!! So glad to be of help. AND that you improved upon the original. =)
Thanks Kate… but you are the original genius… I like to do punch needle and Valdani floss is so pretty and so expensive… so when I stumbled on your method to separate and entire skein of floss I was thrilled… Now… if I could figure a way to blend the 2 strands into 4 strands getting that tone on tone blending of them would be great… Valdani is a 3 strand floss… I would think I can fudge it using 4 strands of DMC. Or just maybe… separating 6 strands to 1 strand each… and properly blending 3 graduating shades like Valdani… This will be my next challenge.
That. Sounds. SO COOL!!! Is there any place I could look at your work? =) K
You can also seperate your floss then wind on a nostapenne. A little stick with grooves to wind yarn. You can make balls that pull from the center. They will look like the Valdani balls. I run a stick thru the center and then anchor in a cheap plastic basket I got from the dollar store. This works great for punch needle no stopping and starting.
Good to know! Thanks. =)