Labels for Home Made Raspberry Freezer Jam
When I was little, I would spend weeks during the summer at my grandparent’s place in Edmonton, AB. My grandmother came from Latvian farm stock, and in that tradition, they had transformed the majority of their yard into garden — both flower and veggie. Some of my fondest childhood memories take place in that garden… including sitting in a little orange pup tent they got me, stuffing my face with fresh peas and raspberries. When it was time to go home (which was never a welcome event), I would always get a jar or two of freezer jam to take with me. *happy sigh*
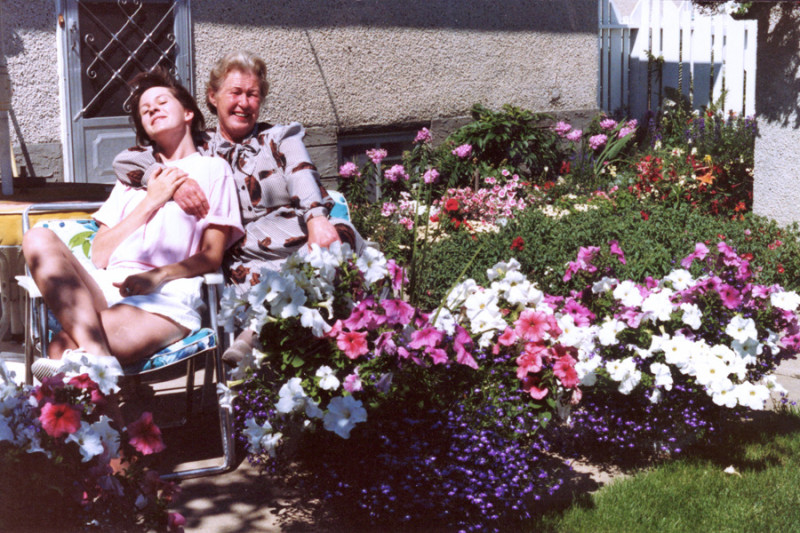
My grandparents and their gardens have been gone for years now, but I have endeavoured to recapture some of that childhood magic myself – by creating my own veggie and flower gardens, and trying to recreate some of their “traditional” recipes. With moderate success, I might add, which is why you won’t find a recipe for “borscht” or “pirags” or “potato pancakes” up here. Yet. I truly wish I could go back in time and make myself be more interested in asking about and taking notes about such things when I had the chance… but… hindsight, I suppose.
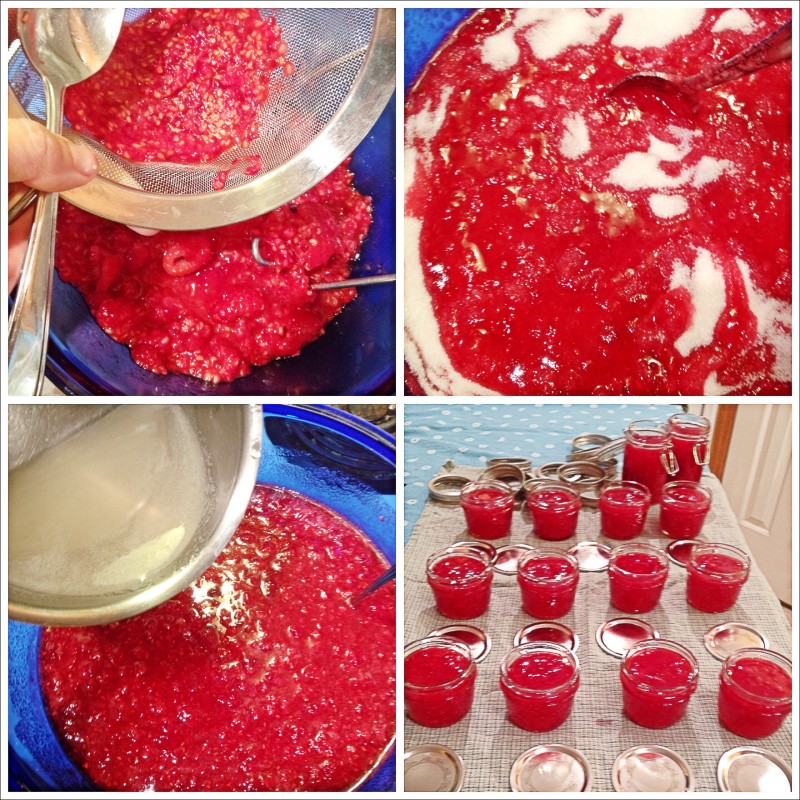
Instead, I muddle through, using Google the best that I can. This year, I took another stab at making some Raspberry Freezer Jam. I’d tried before using some Bernardin Freezer Jam Pectin (which I found tasted… chemically?). And this year, I made a batch using Certo Original Pectin Crystals (which called for 5 1/4 cups of sugar for 4 cups of raspberries!) It was waaay too sweet… so I added 4 more cups of raspberries and gave up on any “gelling” possibilities. Freezer jam is SO easy to do (just follow the package directions) – no messing about with syrups or sterilizing jars or anything! The end result was super tasty… but kinda runny.
Given that I had now made a double batch of jam… I figured that I would be giving some of it away to friends – a girl can only eat so much jam in a year, you know (seeing as nobody else in the “fambily” is a true fan. Yet 😉 I decided I wanted to make some pretty labels for the jars.
I found this image online, but as it was just a small “candid” shot, it didn’t crop well enough to just “borrow” it and add my own information…
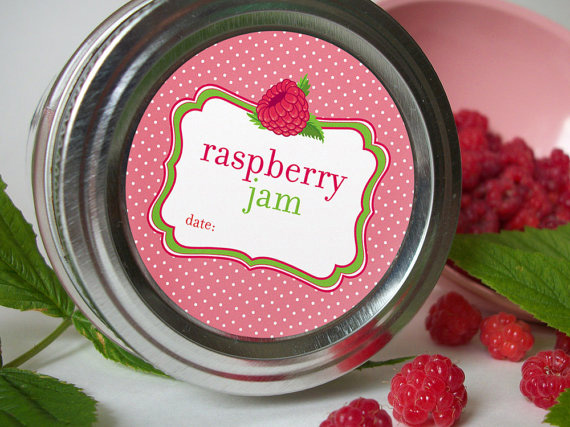
So, I decided to make my own. From scratch.
Step 1 – Background
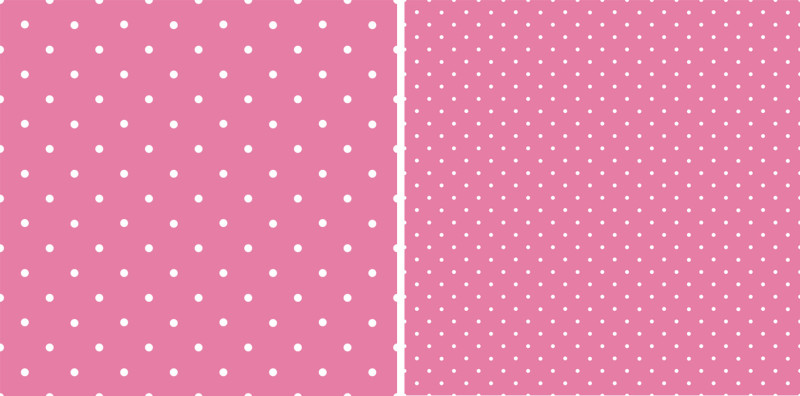
Using Adobe Photoshop Elements 9, I opened a new blank document. “Filled” it in with a pink that I liked. And then using a ruler grid, manually added the dots, one-by-one. Don’t worry, I didn’t waste an entire day adding dots. I added about 24 of them and then copied and pasted it multiple times, until I got a concentration that I was happy with.
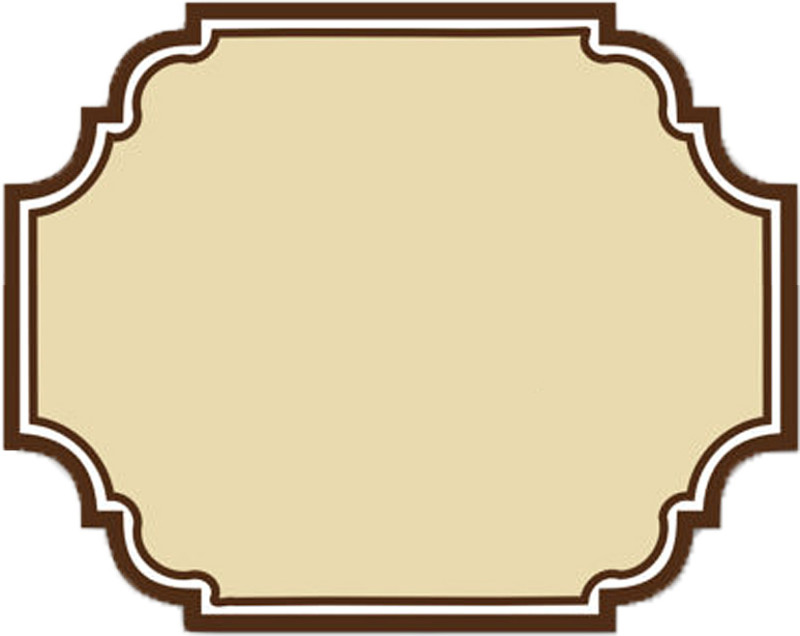
Step 2 – Frame
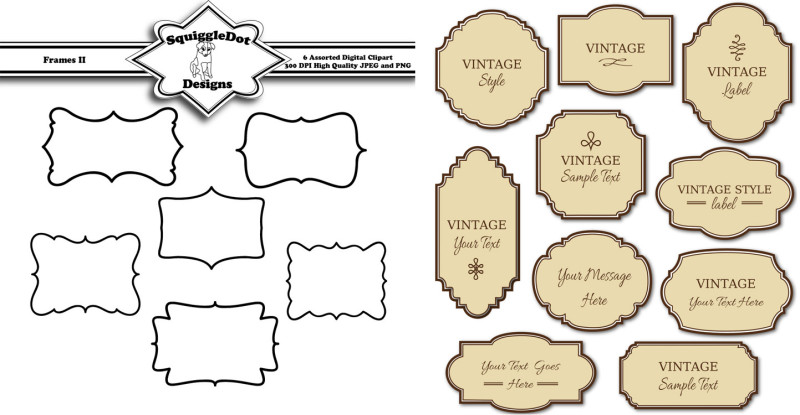
Next, I did a Google image search for frames that I liked the shape of. I then adjusted the size of the frame to suit my project (I ended up changing the length of the sides of a squarish one a wee bit).
Step 3 – Fruit
Again, I did an image search – this time for raspberry clip art. I ended up cutting and pasting pieces from two different images to come up with a design that I liked best.
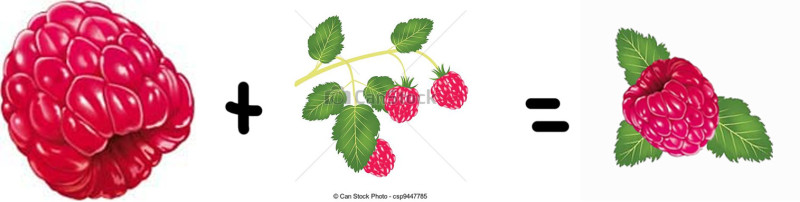
Step 4 – Combine Frame and Fruit
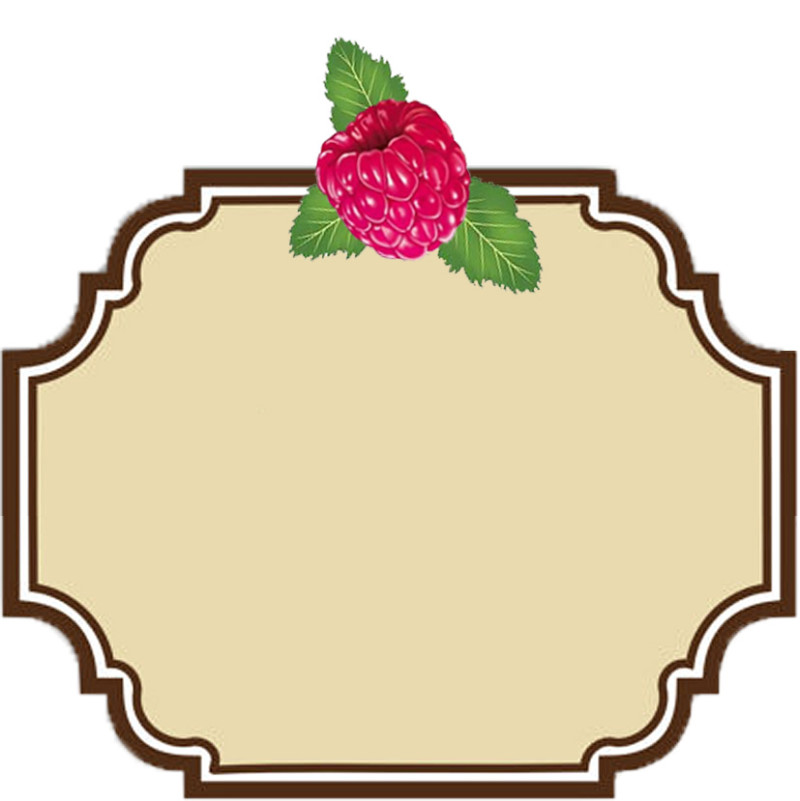
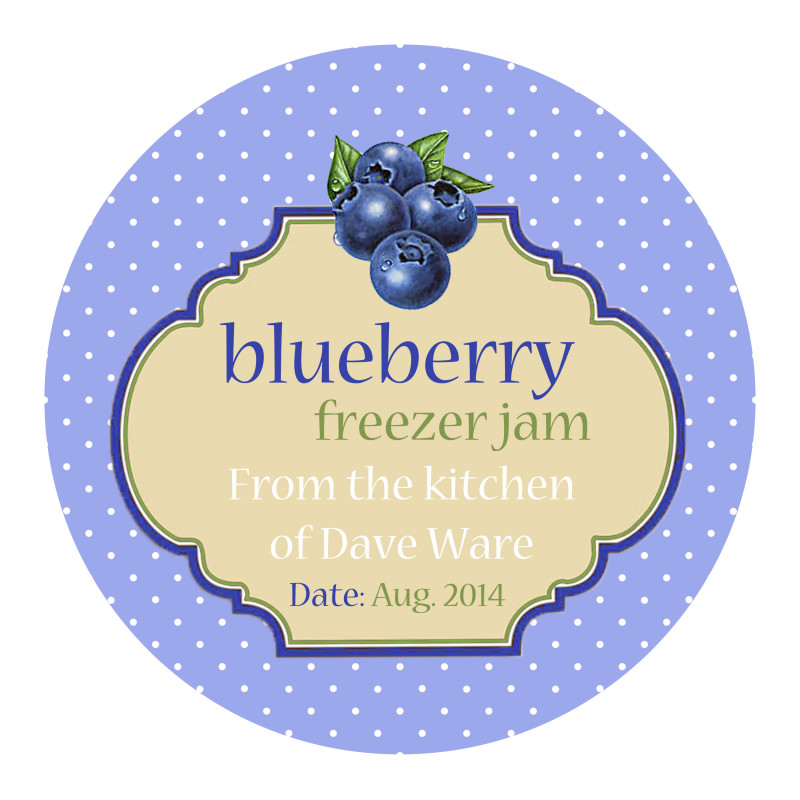
Steps 5 to 8 – Add Frame to Background, Adjust Frame Colours, Add Text and Circle Crop
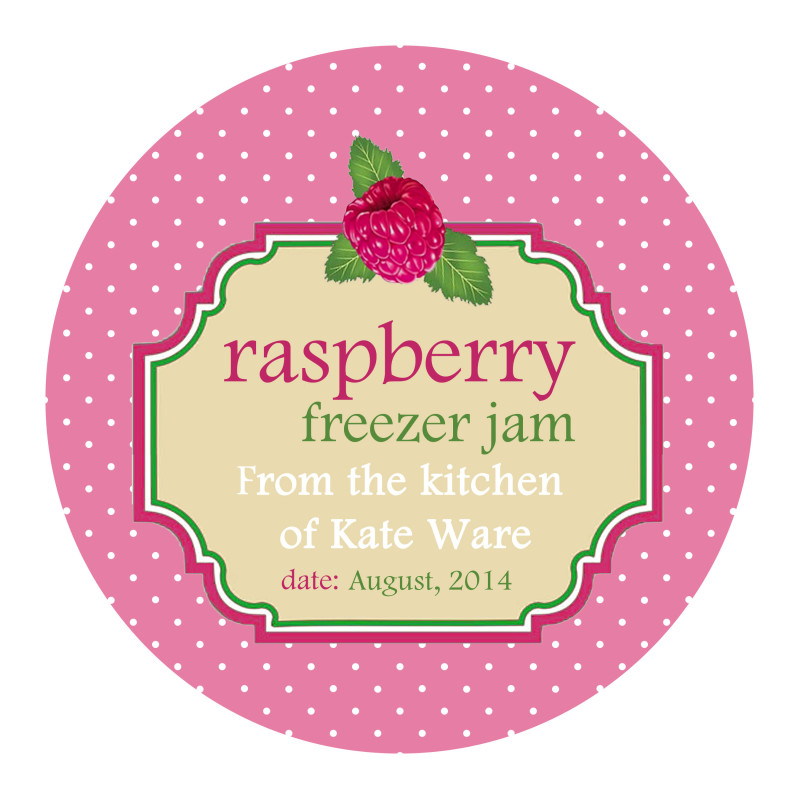
Sorry there aren’t any more “in between” images for each step, but I’m sure you can figure it out. First, take the fruity frame and plop it on the polkadots background. Change the colour of the frame parts to match the fruit clip art. Add text using same colours. And finally, cookie cutter crop the whole thing as a circle – a good size for your jars OR your labels, depending.
Step 9 – Making Labels
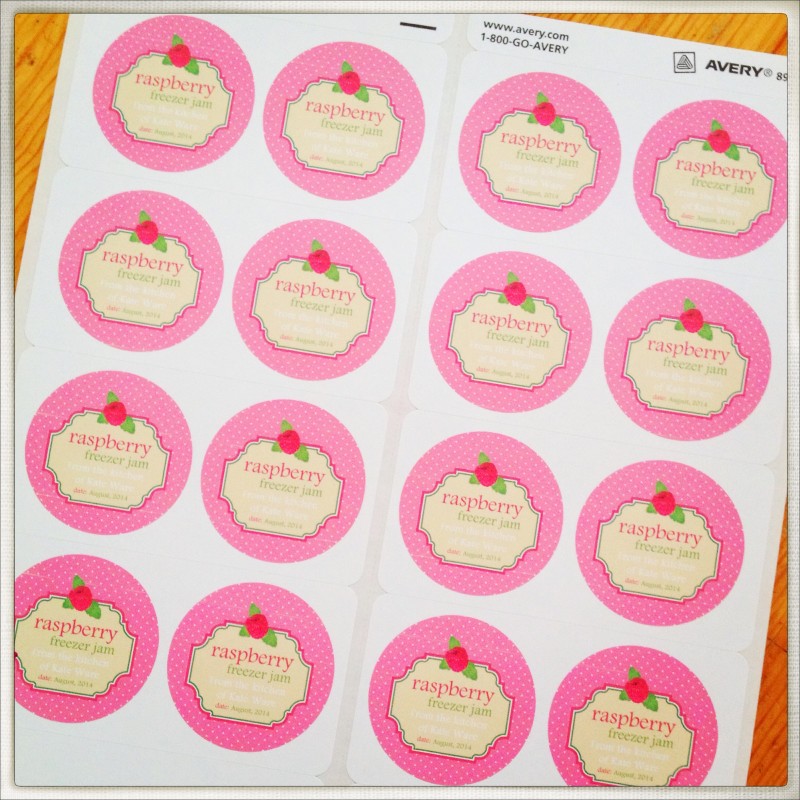
Using Avery labels, the 2″x4″ (10 per page) kind, and Microsoft Office Word 2007, I created a new document of blank labels under mailings. I inserted a picture of the label into each individual segment, clicked the text wrapping “in front of text” button, then moved it into position. I then copied and pasted a second label onto the segment. Then, I repeated this process 7 more times for a total of 16 labels. I’m sure there must be a quicker way to do this, but I don’t know it. Yet. 😉
Step 10 – Voila!
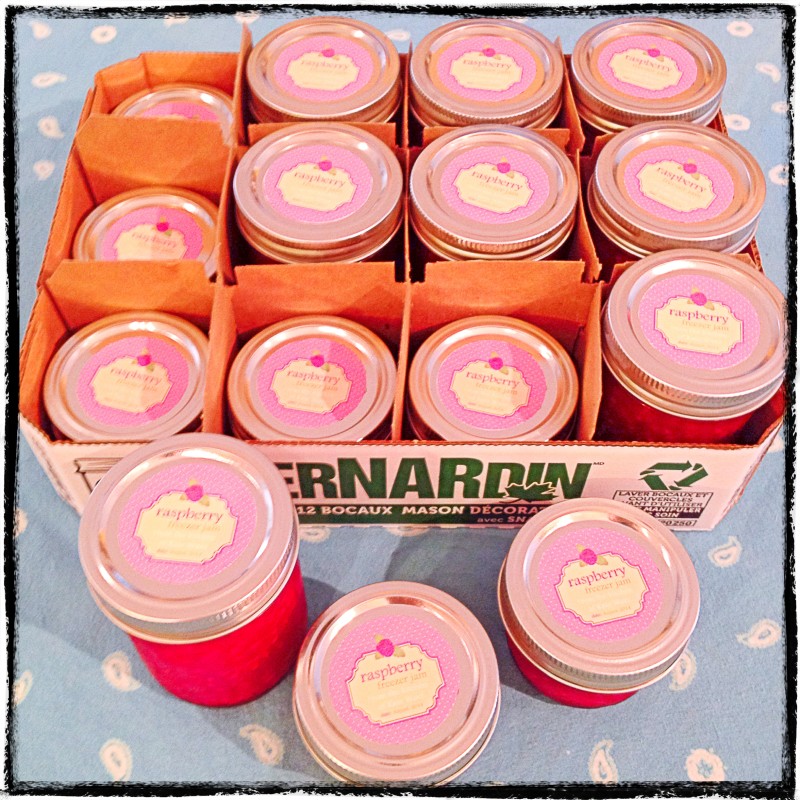
I simply cut out the discs and put them on the jar lids and voila – 15 pretty little jars of jam (either 125ml or 250ml)! A couple in the fridge for me, and the rest in the freezer for later… or for friends, if they’re so interested (you are welcome, Keith!)
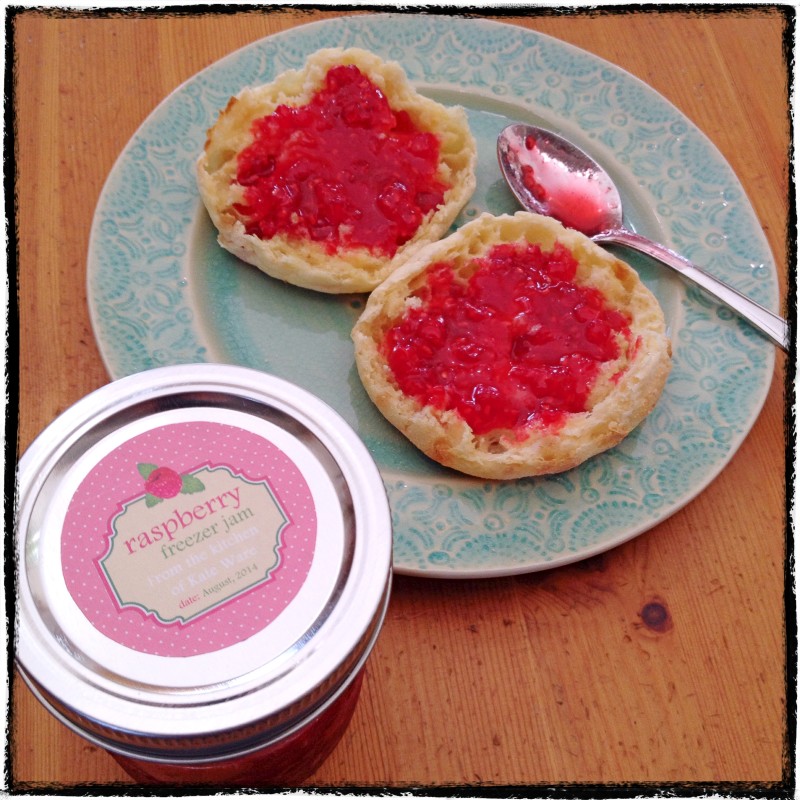
As I said, it’s a bit runny (even after freezing), but it’s still very, very yummy – especially with toasted English muffins… or angel food cake… or ice cream… Yeah. I don’t think any of it will “go to waste”. 😉 NOT exactly like grandma used to make, but we’re getting closer.
After Facebook posting about my adventures with jam, I got a couple of suggestions to try Pomona’s Universal Pectin – which can be used with WAY less sugar, and which I picked up at a local health food store for next time. Wish me luck!
How about you? Any family recipes you’ve tried? Care to share? =)
NOTE: a week later, my husband saw blueberries on sale, so he picked up a bunch and made a batch of freezer jam using the Certo Light pectin and a cup less sugar than required…
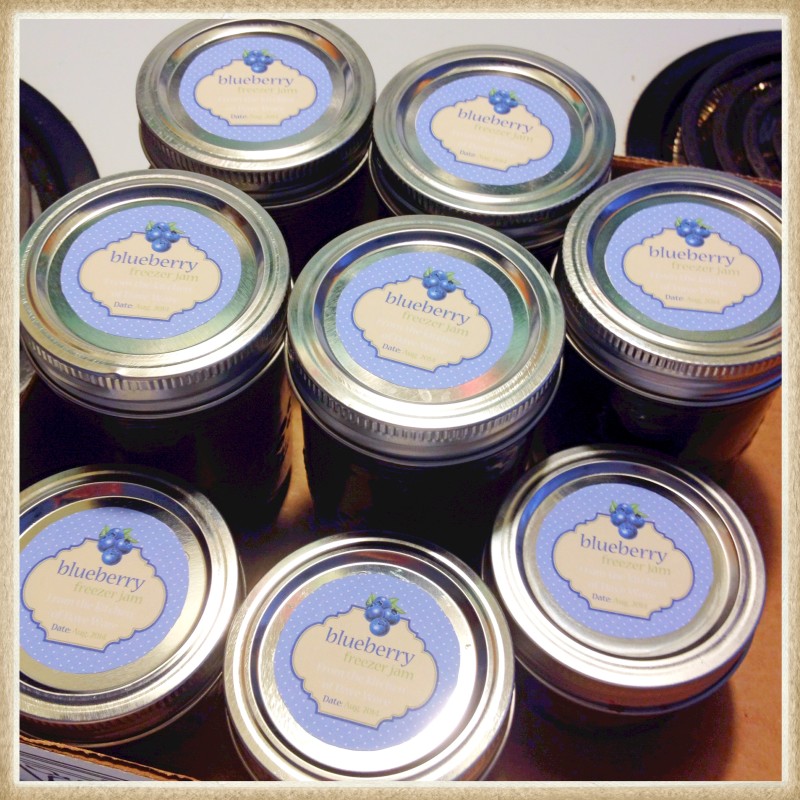
Of course, that required more labels…
Again, it was super tasty… and this batch was a bit more “firm”. Hurrah for freezer jam! <3

4 Replies to “Labels for Home Made Raspberry Freezer Jam”
Nicely done! I loves me some raspberry jam, and this looks like a great project. Since moving to the coast, I’m a big convert to blackberries. They grow everywhere and you can pick a huge batch in just a few minutes. Anyway- nice work with the graphics.
Thanks so much, Don! I’m loving your awesome travel and nature posts, so nice work to you too! =)
Wow, Kate, what a wonderful job you did on these labels.
Really just perfect!
Thanks – I’m rather in love with them myself. 😉