Bank Job: DIY Masks
Once again, my sewing skills have become really useful! 🙂 This week, there was a call put out by film industry costuming workers to donate fabric for or make protective gear for front line workers. I am currently working on some scrub gowns, and thought I would test out a few mask prototypes while I was at it. I looked at multiple patterns/articles… and this is the result.
Here is a quick tutorial on Version 3 of my mask if you want to try this for yourself… sorry, no time to pretty up the photos/do great editing for this one. 😉 Not the simplest mask pattern out there, but: a comfortable fit for a variety of faces, made to endure several washings, and it uses common household items!!!
Materials: cotton (old shirt/sheet), t-shirt, “disposable” pie plate/cake tin, thread, safety pin
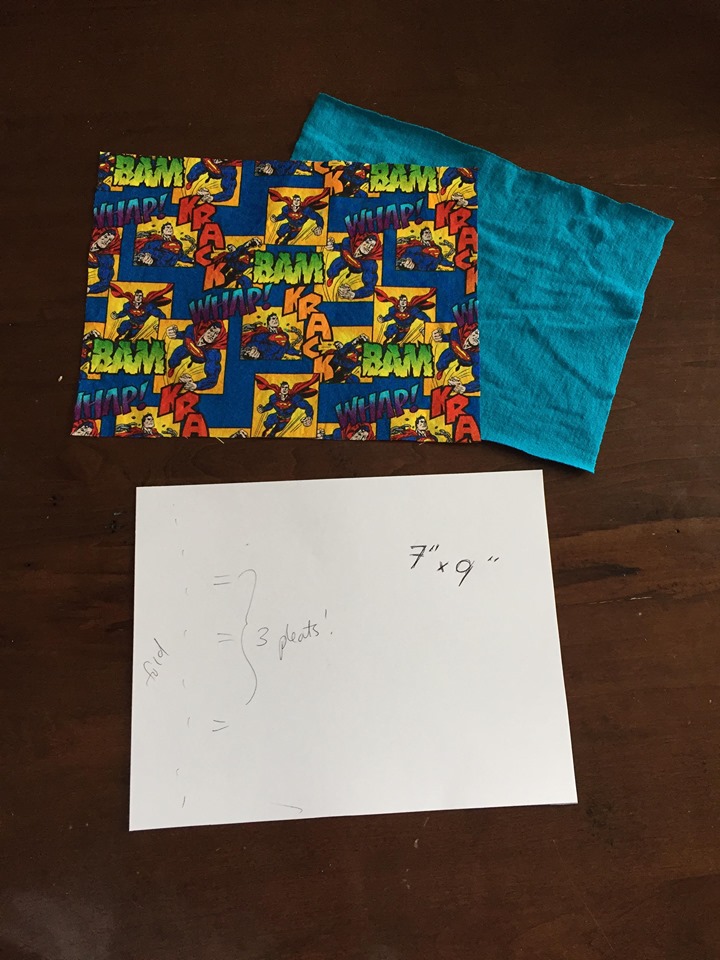
Step 1: cut mask fabric
I read that while vacuum bags offer the best protection of various household items, they are difficult to breathe through. Next best option was one layer of cotton plus one layer of jersey (t-shirt) material. So… cut 2 – 7″ x 9″ (18x23cm) rectangles of fabric, one of each material. (Note: if your cotton has a directional pattern, cut your rectangle “horizontally”.)
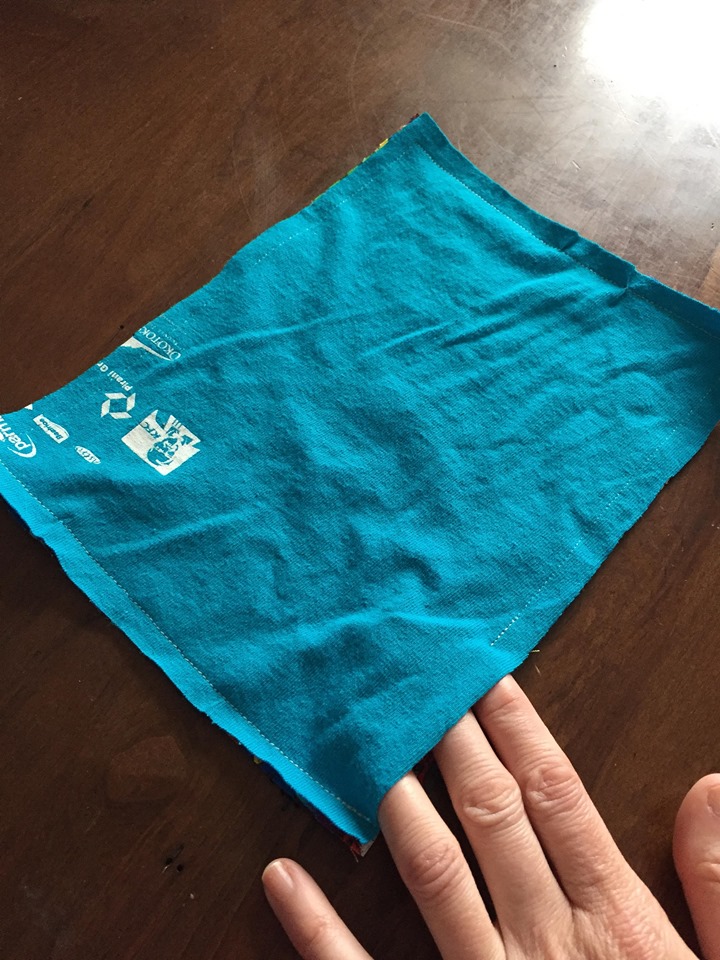
Step 2: stitch together leaving a gap
With the right sides of your fabric together, stitch along 3 sides plus 3/4 of the 4th side… about 3/8″ (1cm) from the edge. Leave a gap on the 4th side so you can turn the mask inside-out. (Note: if you have a definite “this way is up” to your cotton, then try to have this gap on the bottom edge so it doesn’t interfere with the nose bridge next. Also, I used the inside of my tee as the “right side”, as there was a bit of printing that I didn’t want showing.)

Step 3: make a stabilizer for the nose bridge
After trying twist-ties and pipe-cleaners, neither of which offered enough “umph” to hold the mask around the nose well… I landed on using a strip of tin from the bottom of an old cake pan. Cut a strip about 3/8″ (1cm) x 5.5″ (the width of the pan), and round the corners so nobody gets poked. Yes, regular scissors work just fine.
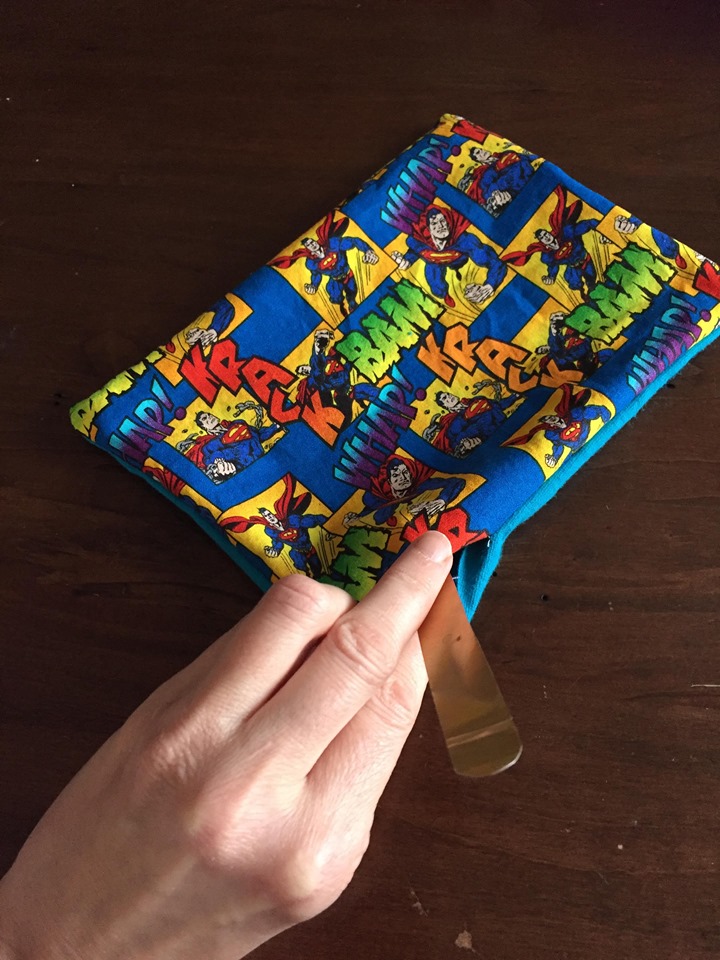
Step 4: invert mask, add tin, top stitch
Turn the mask right-sides-out and put the tin strip into the mask via the gap. Top stitch around the edge of your mask (I guess at 3/16″… whatever lets you stitch through the two outside layers plus the two inside layers along the fold), making sure you don’t stitch over the tin, and you do seal up the gap as you go.
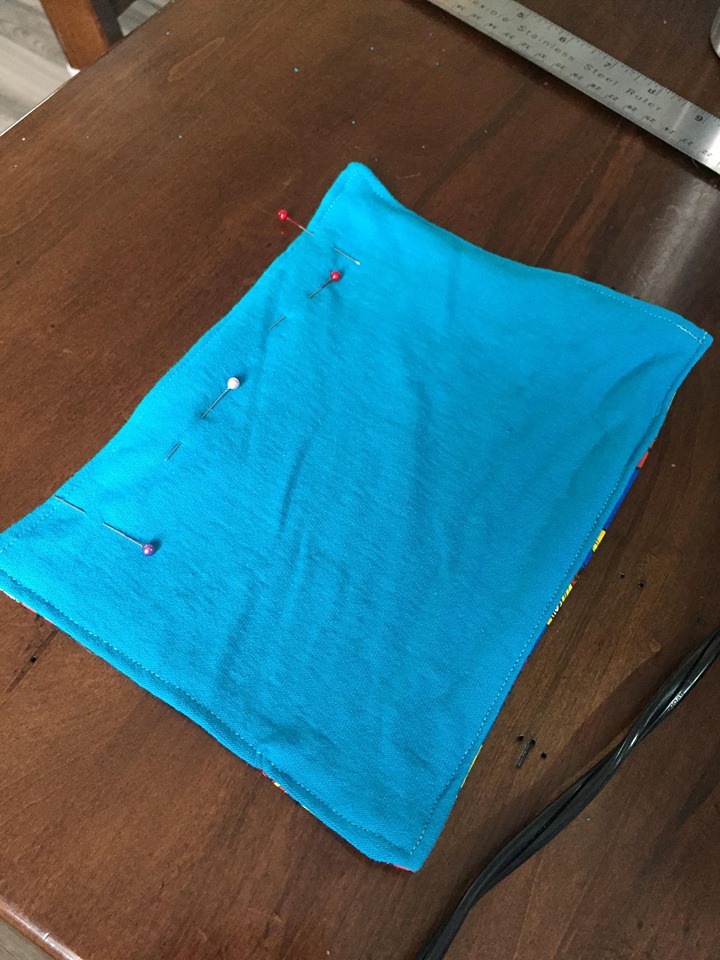
Step 5: secure the tin
Maneuver the strip of tin to the top edge of your mask – shake it there, use your fingers, whatever works. Then pin it in place at the center of the top edge. Stitch around the tin (i.e. where the pins are).
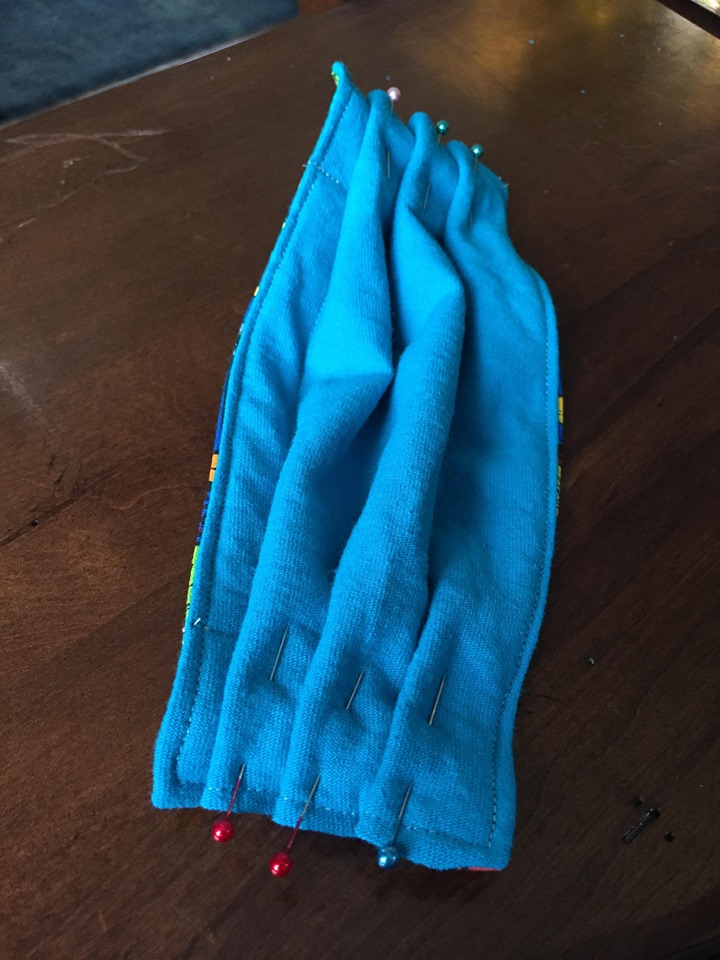
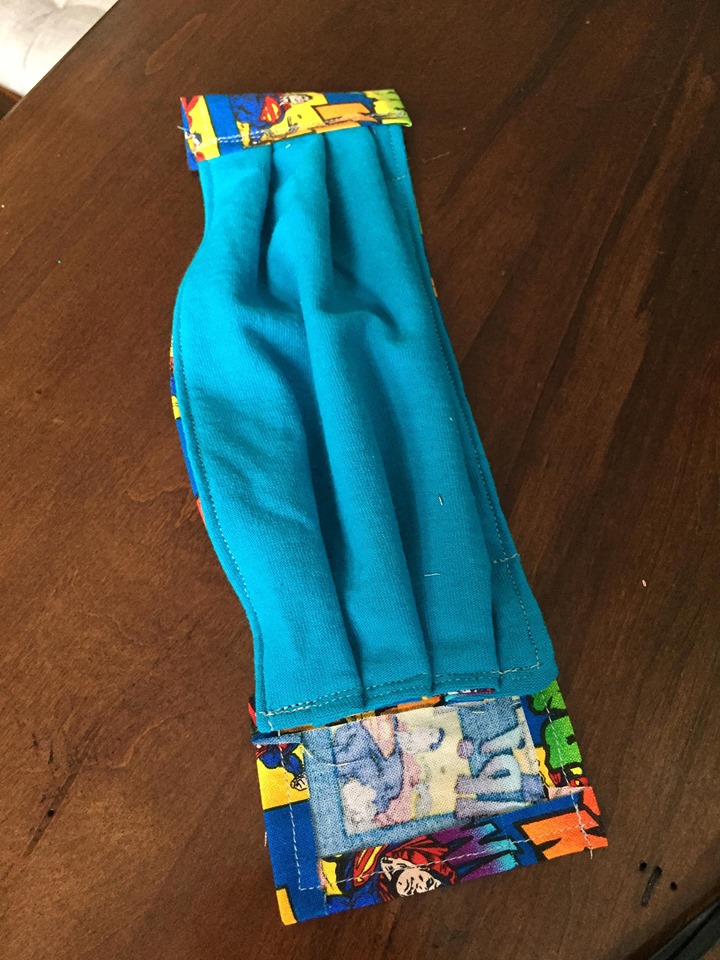
Step 6: pleats, baby!
After trying both 2 larger and 3 smaller pleats… I decided three smaller pleats fit better. I also like the pleats “flowing downward” so items can’t get caught in the troughs – meaning, when you make your folds, you tuck under from the top down…
The left side is the top of the mask, the right is the bottom. The pleats fold in a downwards direction, if that makes sense…
Pin them in place. You may have to adjust a few times, but you are aiming for about 1/2″ pleats, no more than 3 layers overlapping, and two sides that are the same (about 3″). Top stitch the pleats in place.
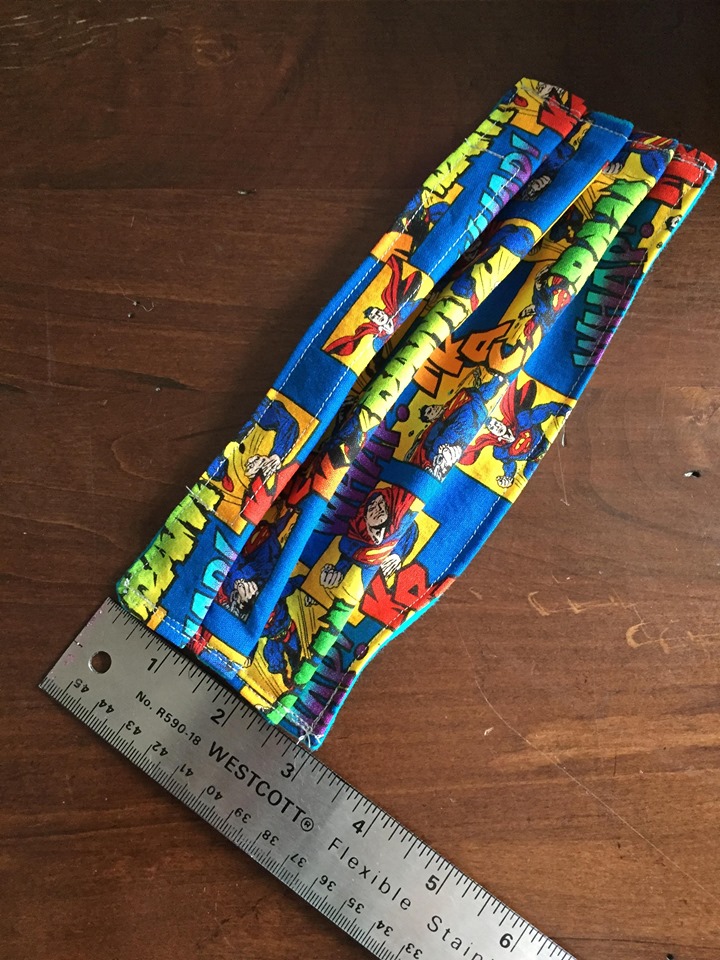
The sides of your mask should now be about 3″ wide.
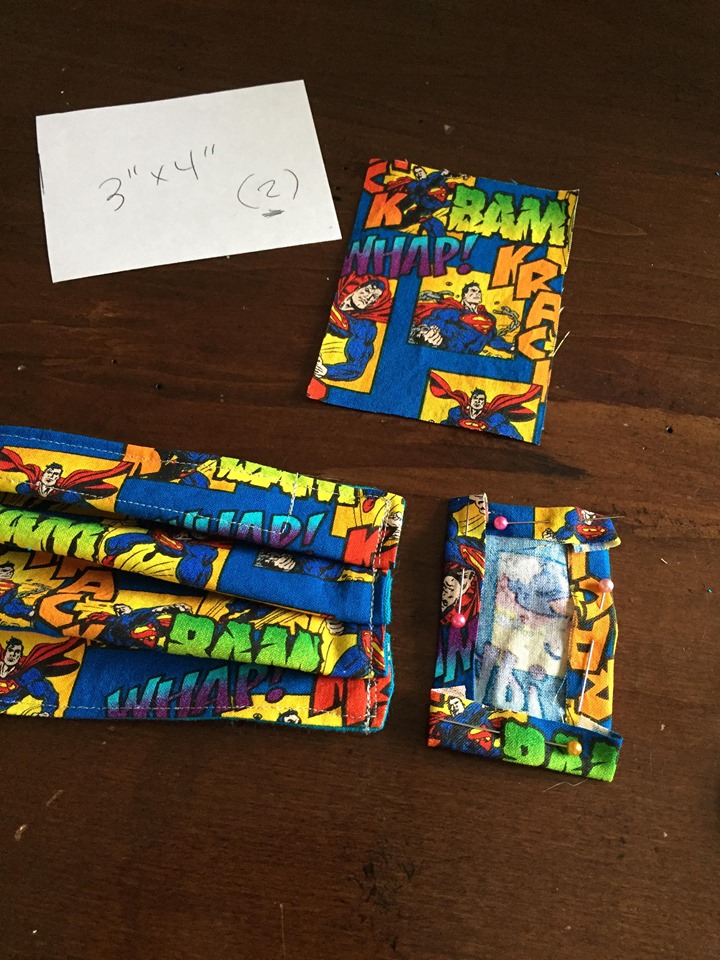
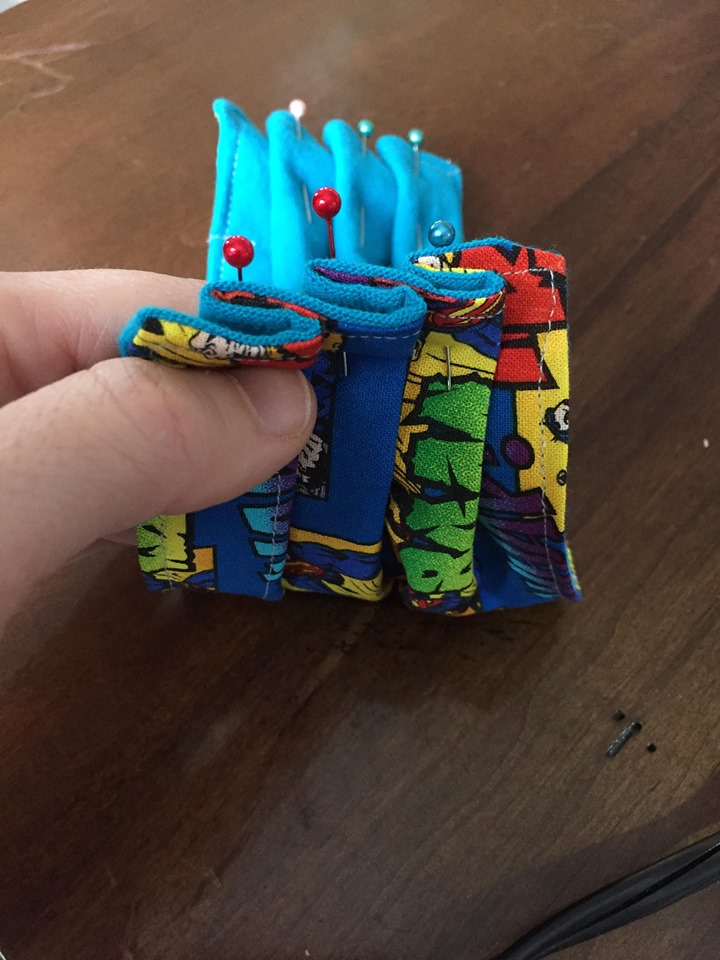
Step 7: make a channel for the ties
Cut two pieces of 3″x4″ (8x10cm) fabric (note: if you have a directional fabric, make sure the rectangle matches the mask – i.e. the 4″ edge is going to be along the 3″ side edge of the mask, so cut your fabric in “portrait” format).
Fold the edges of these rectangles in about 3/8″ (1cm) and pin in place. Top stitch around the edges of them both.
Attach these rectangles to the edges of the mask. Fold a rectangle in half lengthwise, overlap the 3/8″ (1cm) rectangle edges around the first 3/8″ (1cm) of the mask edges and stitch down. I double stitched mine in place for extra security. Leave the “top” and “bottom” of your folded rectangles open/unstitched – this is where your ties are going.
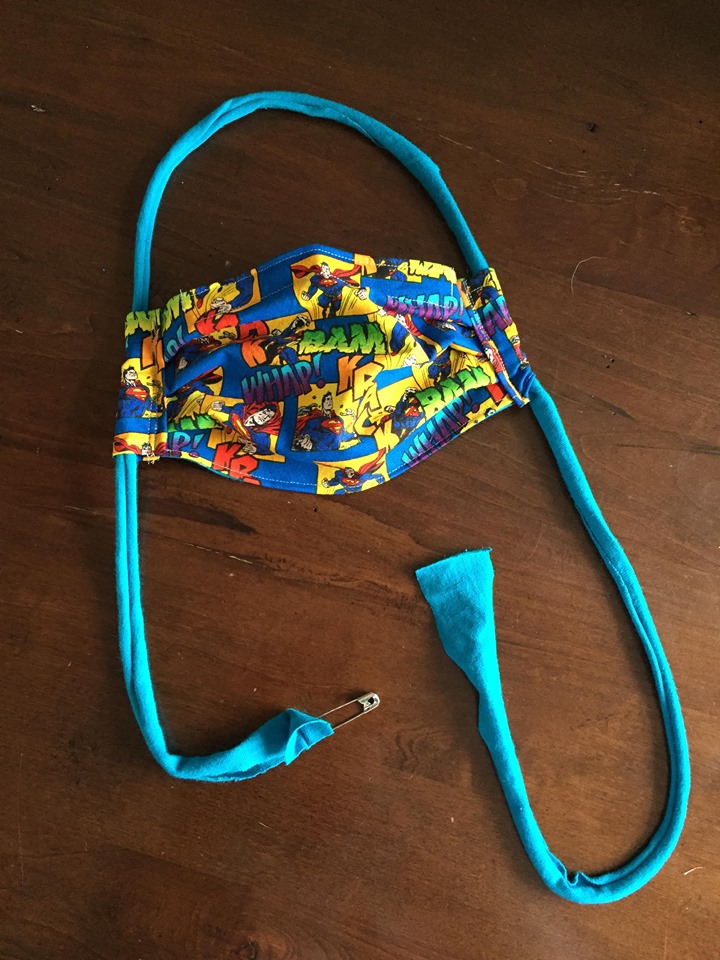
Step 8: ties
I found elastic to be a tricky way to keep the mask on – different faces will fit masks differently, and you want a snug but not painful fit… I opted for ties instead, and found that t-shirt fabric offers enough stretch that the mask stays comfortable… It may not be as neat and tidy, but it does the job well. 😉
Cut a strip of ~1″ x 40″ t-shirt fabric – I just cut a strip from along the bottom of the t-shirt, above the hem… it may or not be 1″x40″ exactly… (Note: if your t-shirt has side seams – instead of being a solid tube of fabric – you will probably want to stitch over those seams to reinforce them for when you pull on them.)
Using a safety pin, run one end of this strip (the tie) up the channel on one side, and then down the channel on the other side. Remove the safety pin. 😉 And there you have it… your mask is complete!
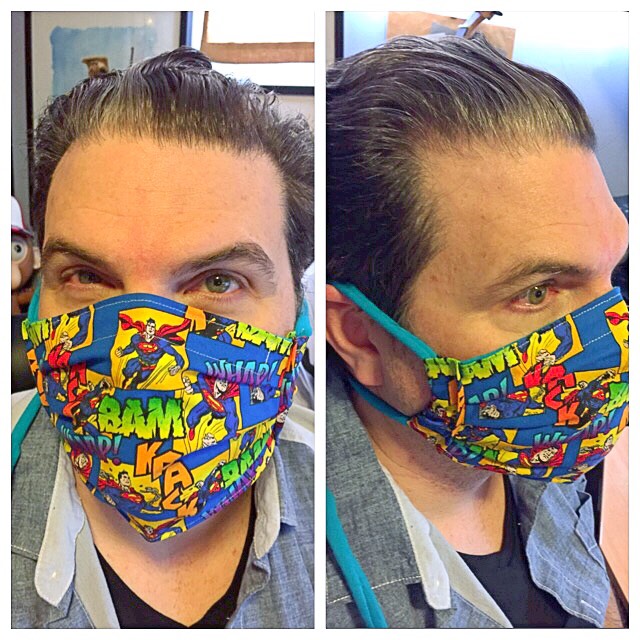
Put the top loop of the tie around your head. Pull the ends of the ties to adjust the fit. I like to have the top loop sitting on my ears. Then tie the ends together at the back of your head. Trim ties if necessary. Pinch the tin around the bridge of your nose to get a better seal. Oh…
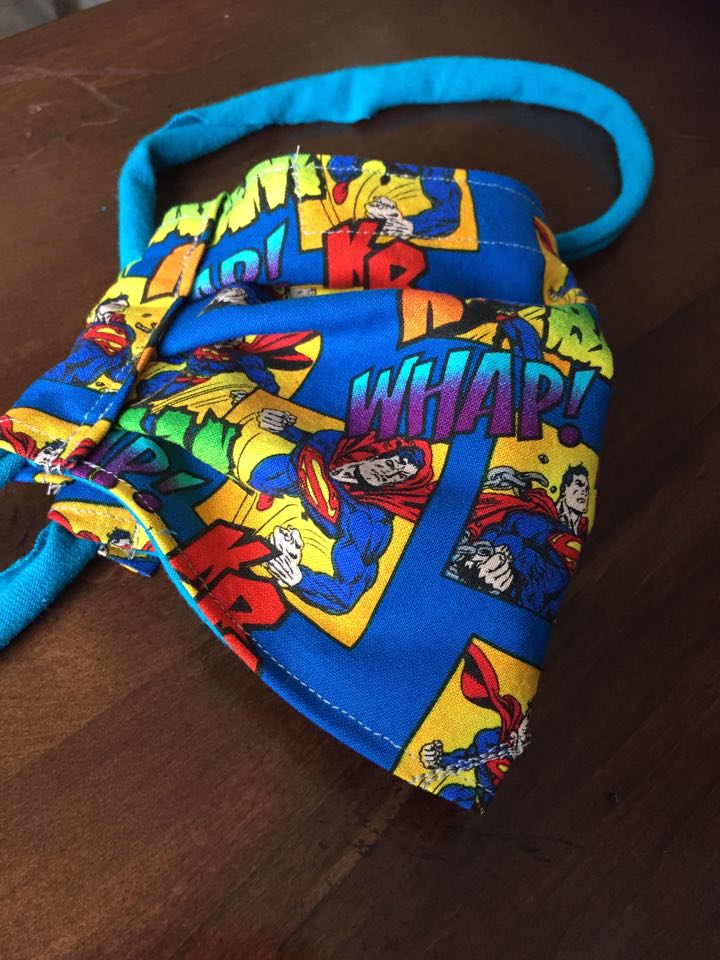
I found that I didn’t like the looseness under the chin… so I added a little extra “tuck”. Optional: fold mask in half, stitch a wee little diagonal line at the bottom corner of the fold, so that it fits under the chin better…
Health care professionals suggest:
- wash hands before touching and/or putting mask on
- once mask is on, do not touch, adjust, play with mask
- when done, take off mask, put directly into wash, then wash hands immediately after
- wash mask between uses
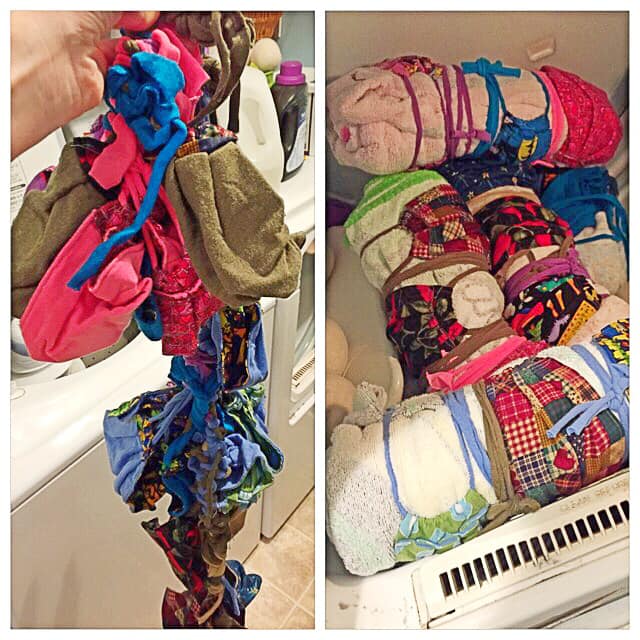
Be forewarned… the ties DO make a bit of a mess when washed, so a garment bag might come in handy. Also, the tin nose piece may get bent a bit in the washer/dryer, so flatten it out as needed…
Hope that all makes sense. Let me know if you give it a try! And if you have any questions, just shoot me a message. ♥ Happy sewing, y’all. Stay safe. And remember to smile with your eyes. xo
