May Madness (with Koldunai recipe)
Lots of gardening going on this time of the year…
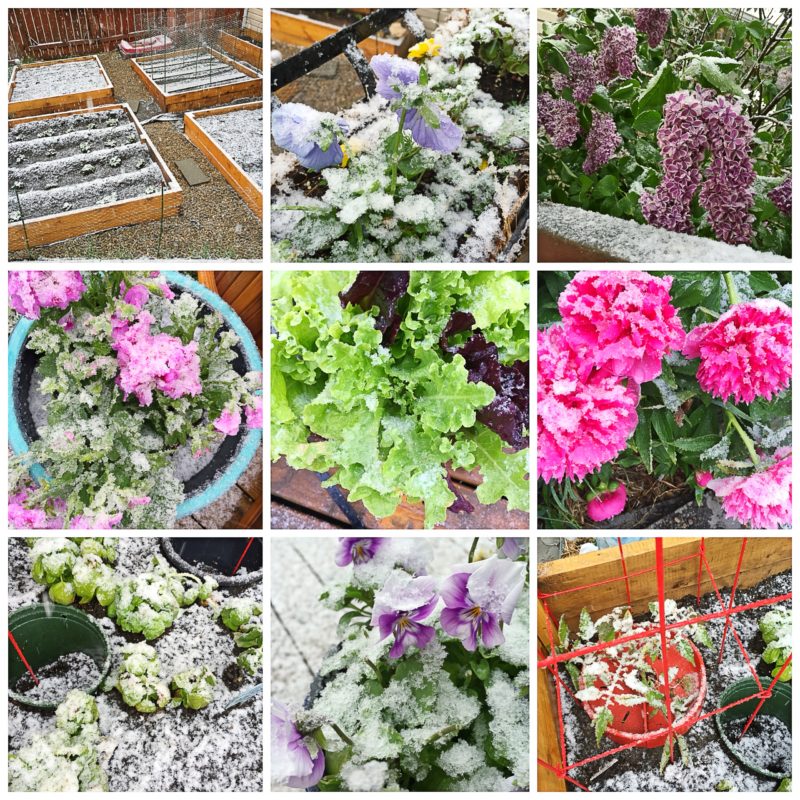
…buuuuut also a few odds and ends to catch up on for the blog. Because snow and rain happen. 😉
Firstly, my book.
Last month, I posted about creating my self-published Garden Journal. Within days, my super-supportive and awesome friend Kim contacted me wanting to order one as a gift. Luckily, we found a 40% off Blurb coupon, which brought the price down a bit… but it was still a bit steep for my tastes. So, I started seriously investigating how to make my journal more “reasonably priced”.
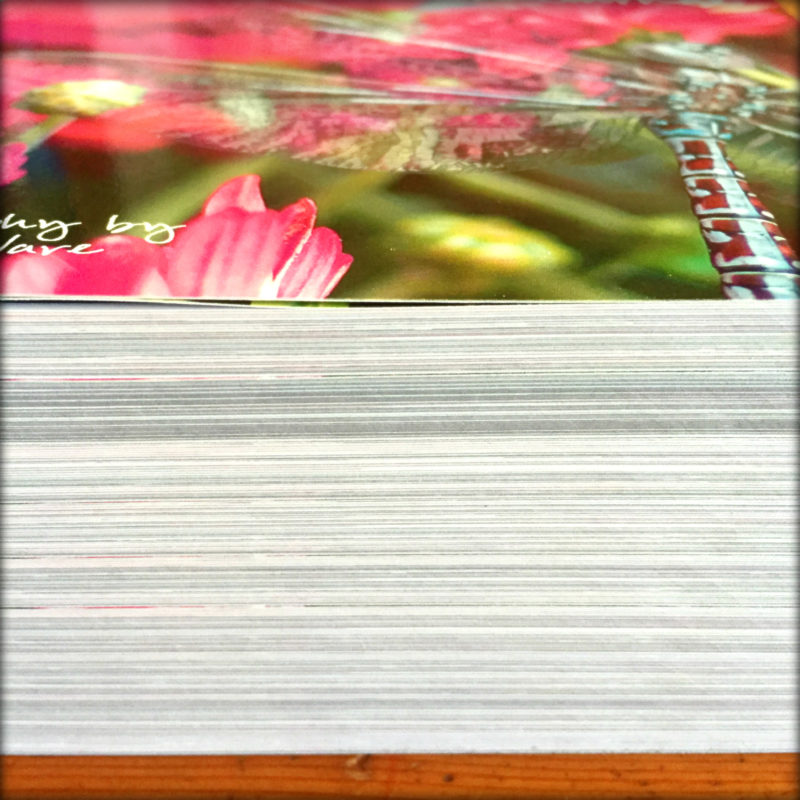
Long story short, by selecting soft cover and standard paper options, and applying the coupon, I could get the price down to around $35 per unit (sadly, I couldn’t combine this with the “bulk order” discount, and it doesn’t include any time/labour/overhead costs). That is still a lot for a journal… but it *is* filled with beautiful art photographs, so maybe it’s not too outrageous after all. I also decided to replace the duplicate content with new photographs, AND added a few dozen quotations on select pages. I was really happy with how the second version of the book looked in the BookWright app. So much so, that I decided to order 10 copies to try and sell, because who knows when another great coupon will come along!

However… things were not all puppies an rainbows with my second order. 🙁 Not only did the order take much longer to arrive (it even showed up several days after the tracking said it would), but when the books did finally come, the top copy was damaged. Plus, on all of the copies, the pages had been cropped much closer than with the hardcover book – so much so that the framing line had been removed in some cases! I was soooo disappointed…
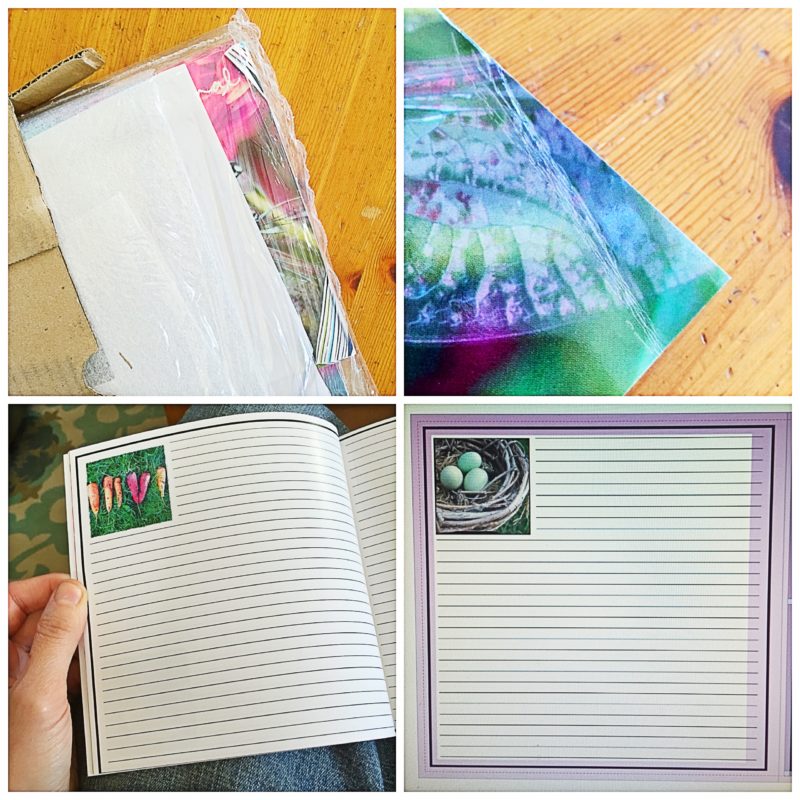
After investigation, I discovered that the “safe zone” was much larger than I had thought/worked with previously… so the cropping fail was on me. I just wish I hadn’t made the mistake with a 10-copy order. 🙁 But customer service was great at replacing the one damaged copy, thanks to my swift thinking and photo taking of the problem. And some of the copies were less strangely cropped than others… I even managed to sell a few of them to my lovely friend Thyra as Mother’s Day gifts for her & her family. ♥ Ultimately, it was an expensive lesson… but it has inspired me to do a supremely kick-arse third version, which is bound to be perfect!
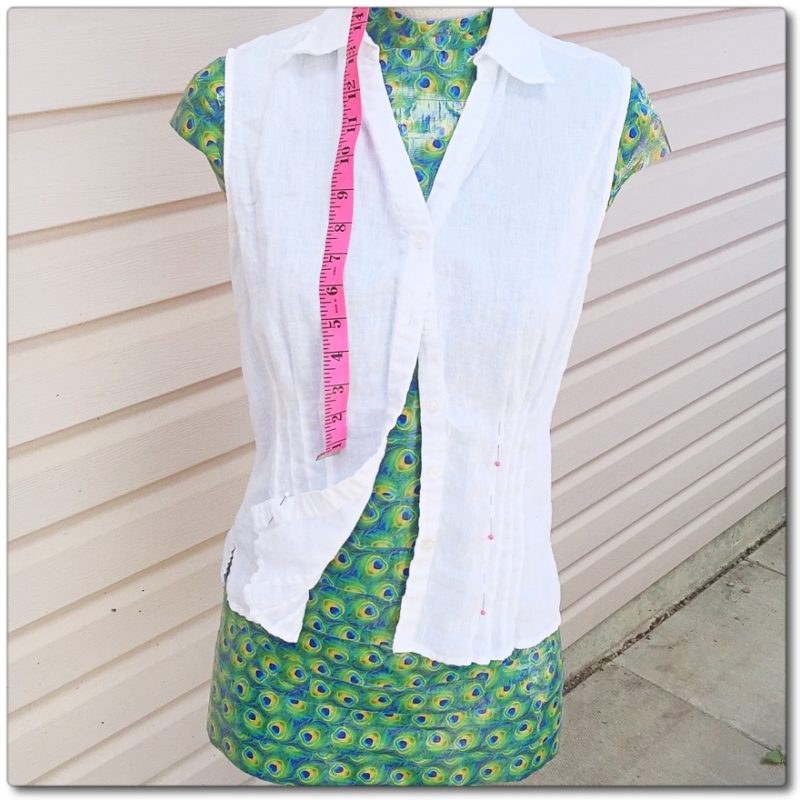
Second on the list: my new dress form!
For years, I have been wanting my own dress form to help create and alter clothes and costumes on. However, I’m just not willing to spend hundreds of dollars on such an item. After scouring various second-hand stores and websites without any success… I finally gave up and purchased a $50 decorative form instead. This was about three years ago, I think. I named her “Tess”, and she’s been absolutely wonderful to have around – especially to display items on at craft fairs. Sadly, she’s built a little differently than I (and most of the natural world)… so while she’s fantastic for display and rough sewing work, she hasn’t been great for altering my own wardrobe.
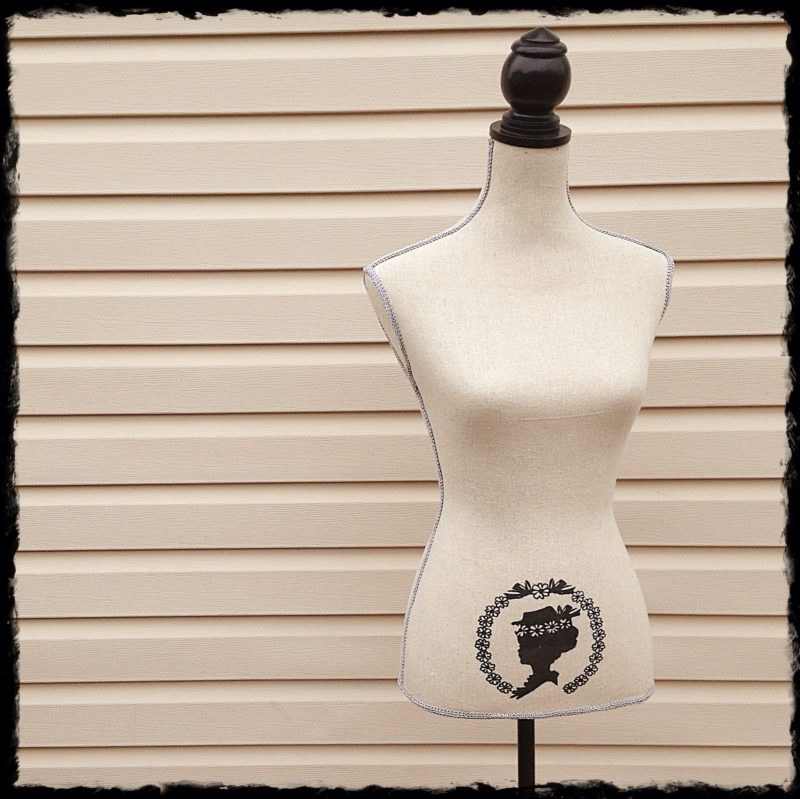
Then one day, I discovered that people were making their own true-to-life-size dress forms / sewing mannequins out of duct tape! Thank you Pinterest!!! After doing a bit of research on various different posts, and finding someone willing to help me out with the project, I decided to see if this idea was either pure genius – or a total Pinterest fail… (I was going to do an entire post on the subject, but honestly, there are more than enough DIY instructions out there if you seriously want to construct one for yourself. 😉 So. Here are just a few notes I would add.)
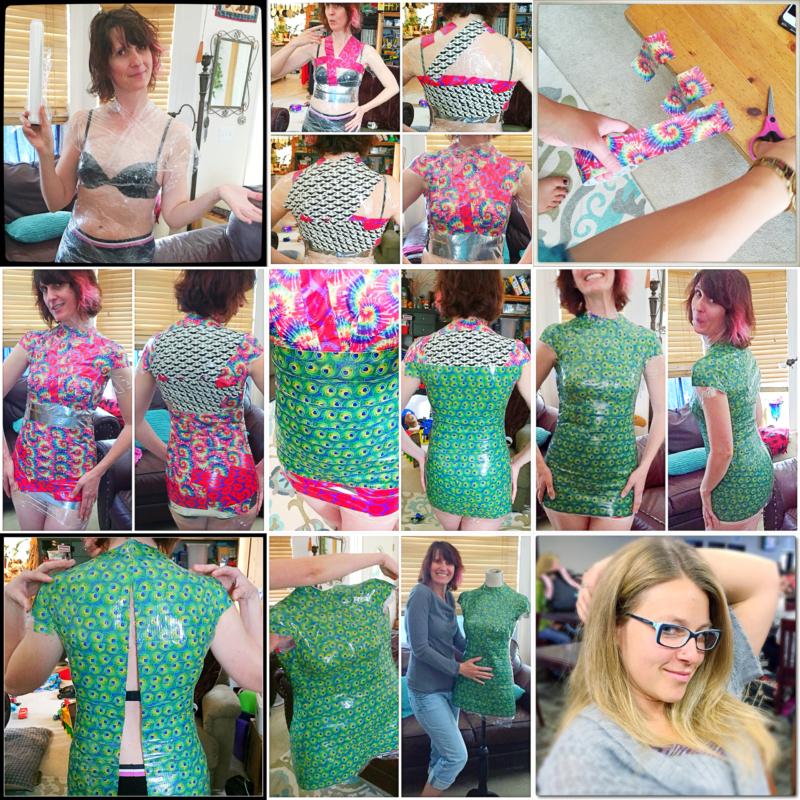
My amazing friend Thyra knew how much I wanted a form, but had also not succeeded in finding one second-hand, so she offered to tape me up – a friend you can trust is key. 😉 One of Thyra’s friends had tried and failed at the endeavour, due to t-shirt issues we think, so we went with a base layer of plastic wrap instead of fabric. While it was probably more sweaty this way, it also offered more flexibility and ease with taping (you could cut and reshape and add plastic as needed while taping, and it didn’t stretch and move while you did).
We found the “Duck” brand of tape to be easier to use than the “Scotch” brand, and a sharp pair of scissors (removing the glue occasionally with baby wipes) was extremely helpful. We did two layers of tape (you can see how we used leftover odds’n’ends for the first layer, 4 rolls total), used shorter strips (especially around the curves), and took about three hours to complete the tape form (though, I needed a nap afterwards). I’ve decided to hang it on top of Tess so that I don’t need to bother fully stuffing it and constructing a whole new stand – though I needed to pad it in a few places (between the decorative form and the new tape form) so that it wouldn’t collapse while working on it. But it is all removable, so that I can still use Tess at the next craft fair…
Bottom line: I am thrilled with how it turned out (and kinda wanting to wear it as a dress for the next Bond 007 themed party…) Thanks Pinterest, and thanks a million, Thyra!!!
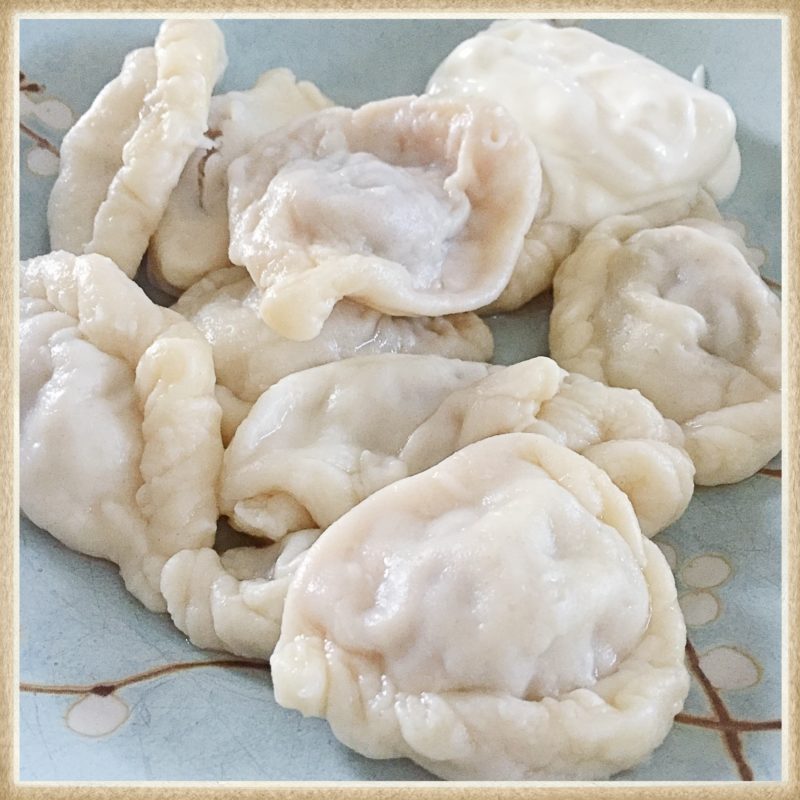
Thirdly: my grandmother’s “Calduna”.
Lately, one of the funny things that my kids (7&12yo) have been saying is “That’s my childhood, right there…” (in relation to old TV shows, forgotten about books, and a few foods they no longer eat regularly). Ah, they grow up so fast. 😉 It got me thinking about my own childhood, and about my grandmother-made comfort foods (like potato pancakes and home-made soup). I decided to take a stab at my Grandma Anne’s “Calduna” recipe, which I haven’t really used a whole lot, as they are a bit of work. Plus, the recipe is very “old school” – with approximations, vagueness, and in some cases, no measurements at all!
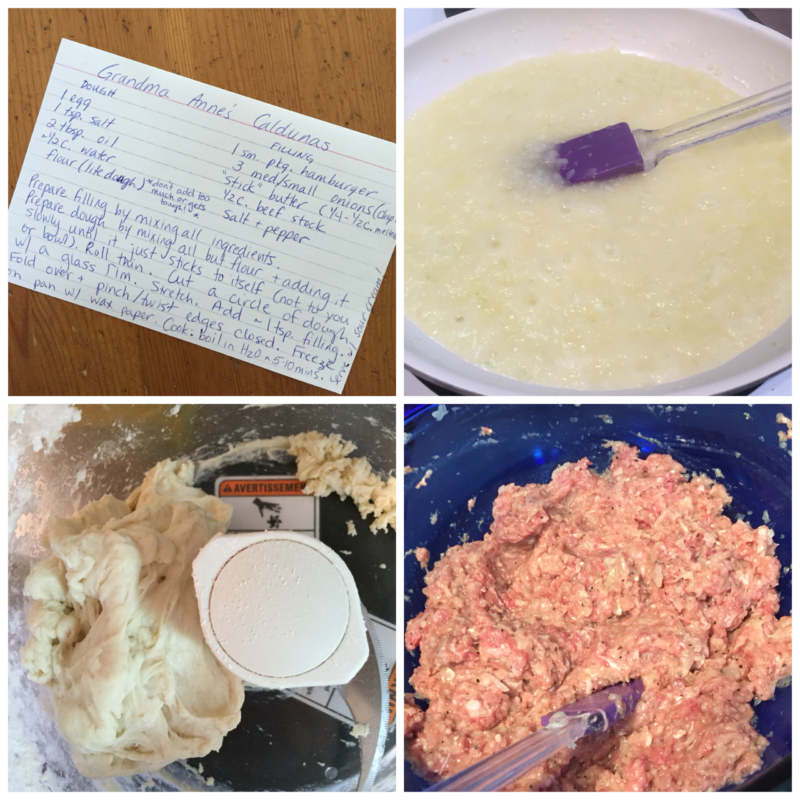
As usual, I did a little research and made a few changes… but only after learning that they’re actually called “koldunai” in Lithuanian. 😉 Firstly, I used my food processor to make the dough. It took just over a cup of flour to get the dough to the point where it was forming a ball. I also chilled the dough for about 15 minutes before using it… and we ended up making a total of 3 batches for one small package of meat (we had ground pork and beef in the fridge, from my husband’s spaghetti sauce making, which I decided to combine to finish up). I also used a smaller food processor to mince the onion, and pre-cooked it in the butter to soften it before adding it to the meat.
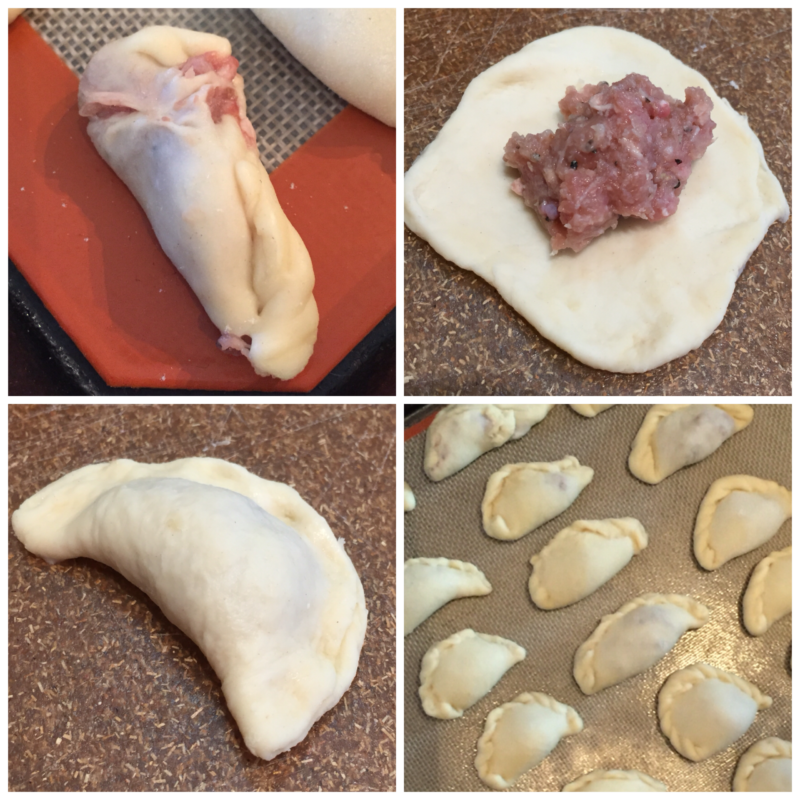
My husband was great at rolling out the dough relatively thinly, and cutting out circles with a glass. I found the dough tricky to wrap at first, until I had gotten a few dumplings worth of practice. I found that stretching the circle out on a board first, carefully adding the meat (not getting grease along the edges of the dough), and then sealing with a smidge of water along the edges worked the best for me. Then I could crimp the edges just like Grandma Anne had (which I finally found a video example of here). I froze them on a silicon sheet for a few hours, and then bagged them for safe keeping. Later that night, we boiled some of them up for about 20-25 minutes (until the internal temperature was good) and gobbled them up with a generous dollop of sour cream! Mmmmm… childhood!
Lastly, odds’n’ends.
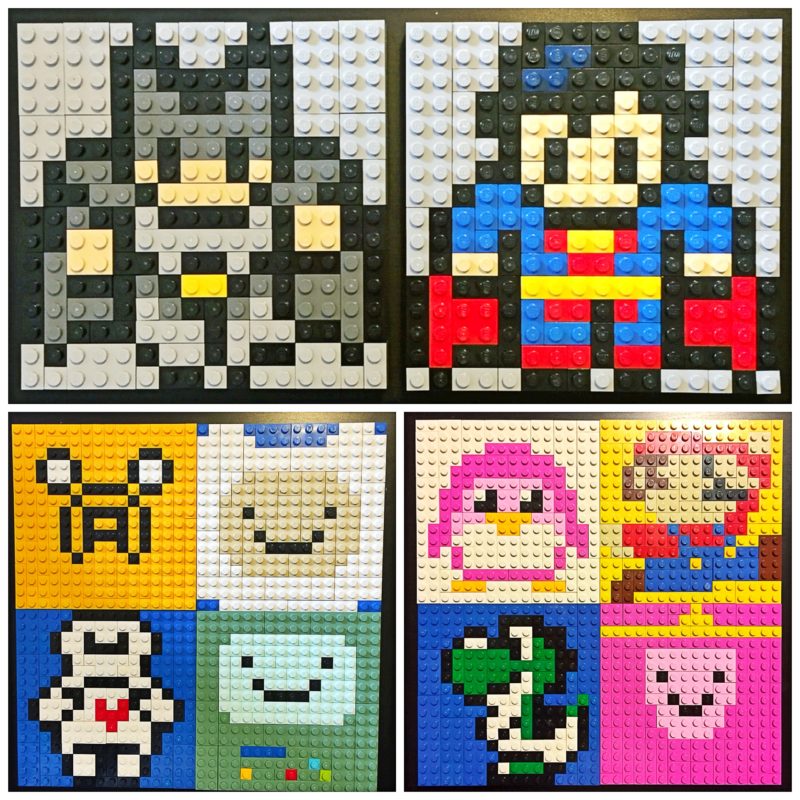
At the end of April, my husband Brickwares was showing at the Calgary Comic Expo, and I thought I’d help him out by making a few mini Lego mosaics to sell at his booth. It was kinda fun spending a quiet afternoon in the Lego studio (kid-free!) making colourful pictures out of plastic. 😉
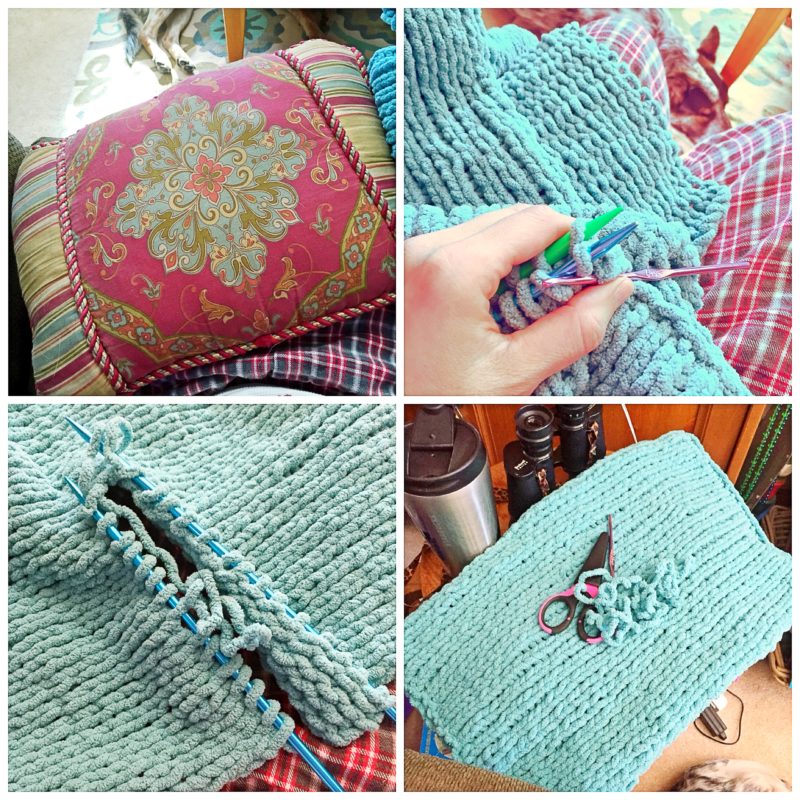
Then one wet and windy day I decided to take apart the snood I had knit last year, and convert it into cushy pillows for the couch! (After making my foxy scarf, I just wasn’t wearing the snood, so I figured I’d put it to good use elsewhere. Plus the old pillows were a little too hard to be enjoyable to sleep on…)
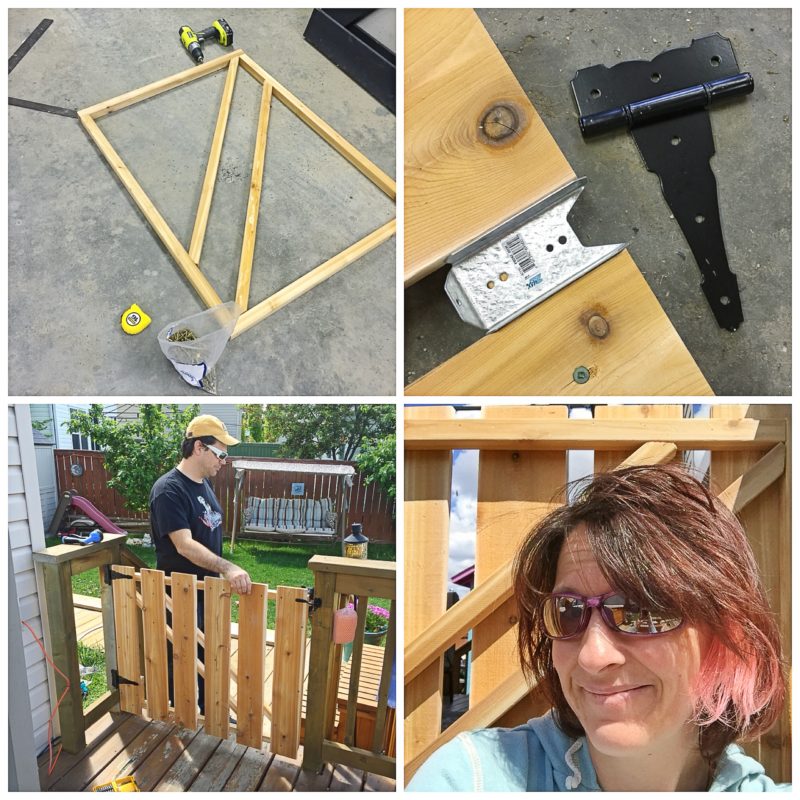
Last Saturday morning I threw together a “No Dogs Allowed In The Garden” gate, which turned out pretty well – considering I built it without instructions or a plan or anything. Note to self: next time, figure out where the hinges are going to go first, and then build the frame according to their measurements. 😉

I also built a new bath tray (upper) out of the leftover cedar spindles I had purchased for the gate project. The old one (lower) was starting to splinter and whatnot… and I absolutely love the ombré effect on the new one!
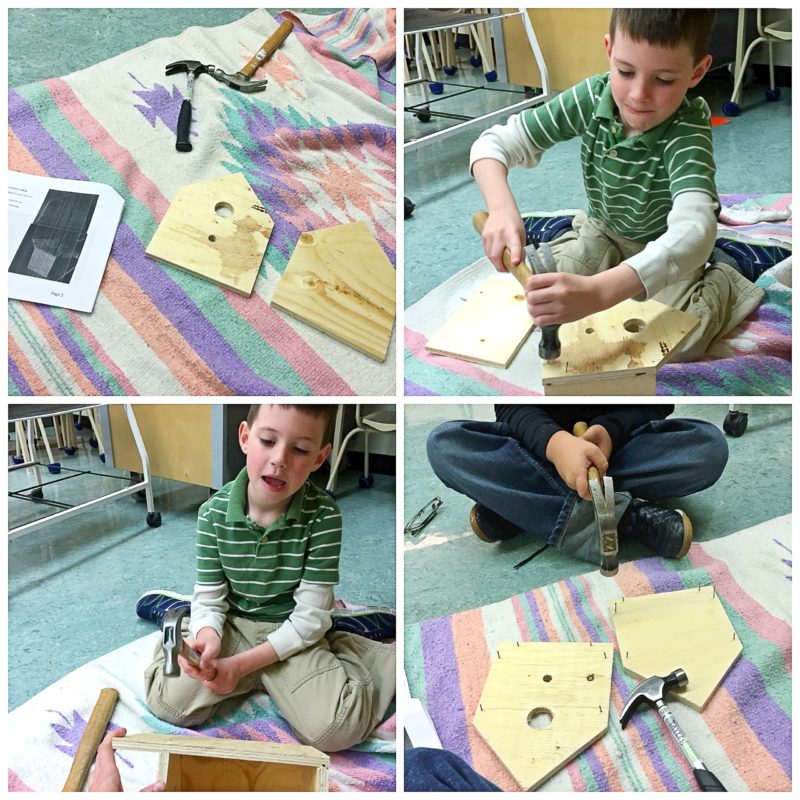
Then there was helping with birdhouse building at the grade school. Luckily I was there to suggest no front perch pegs (so predators can’t have easy access) and a removable roof piece (for cleaning at the end of the season). The project was finished far sooner than the teacher had anticipated, so I ended up speaking to the class about birds and houses and nature for a while. It was a lot of fun. 🙂
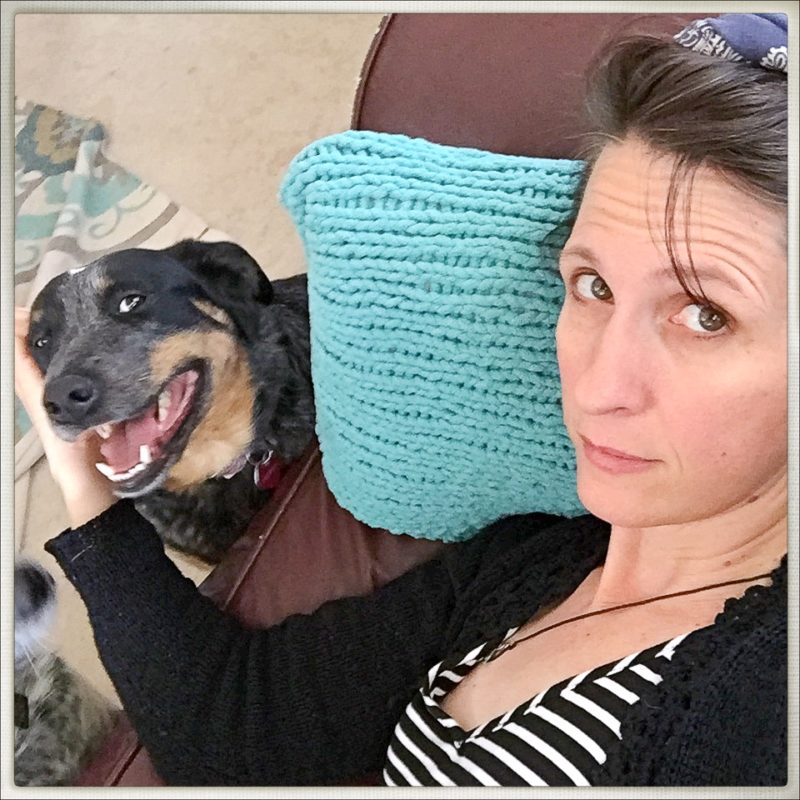
And now, it’s nap time. On my cushy new pillows. If the furry heads will allow it, that is. 😉
Hope you’ve been enjoying the lovely spring weather and have had a great (and productive) May! I wonder what we’ll get up to next month? 😉 Happy crafting, y’all!
