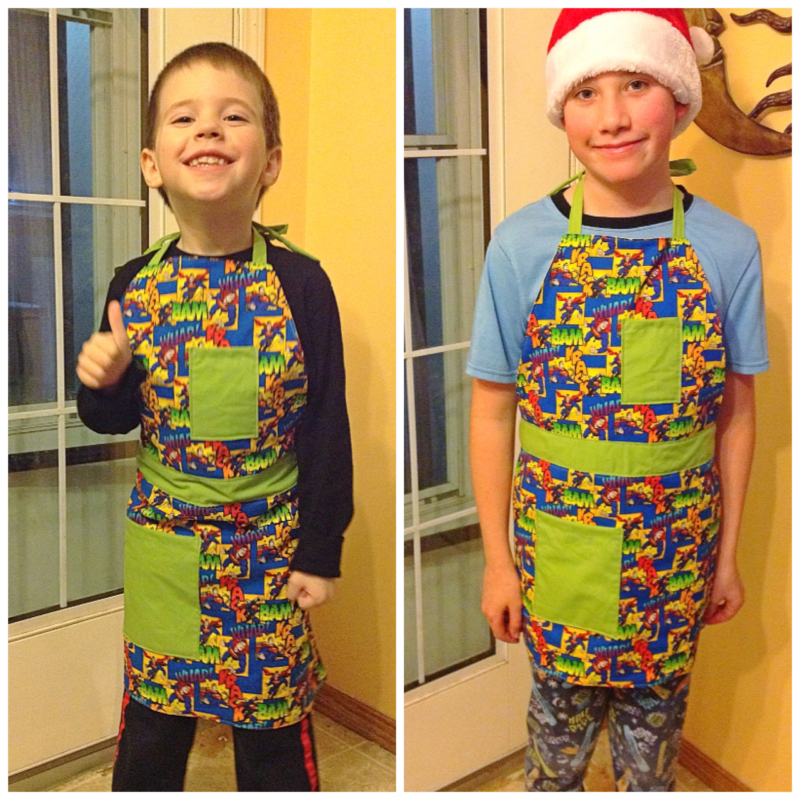
Child Sized Full-Length Apron
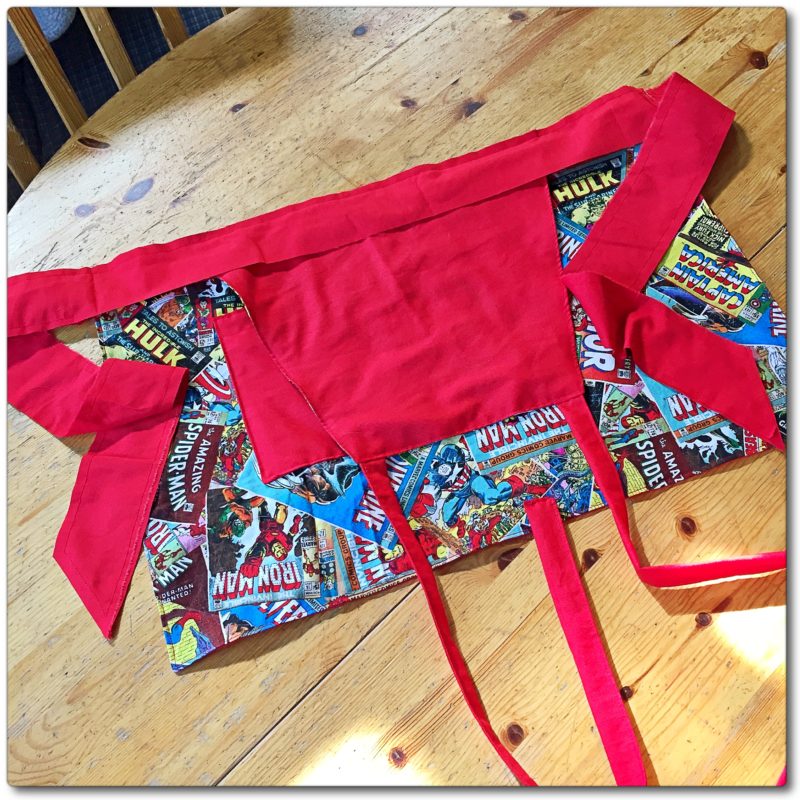
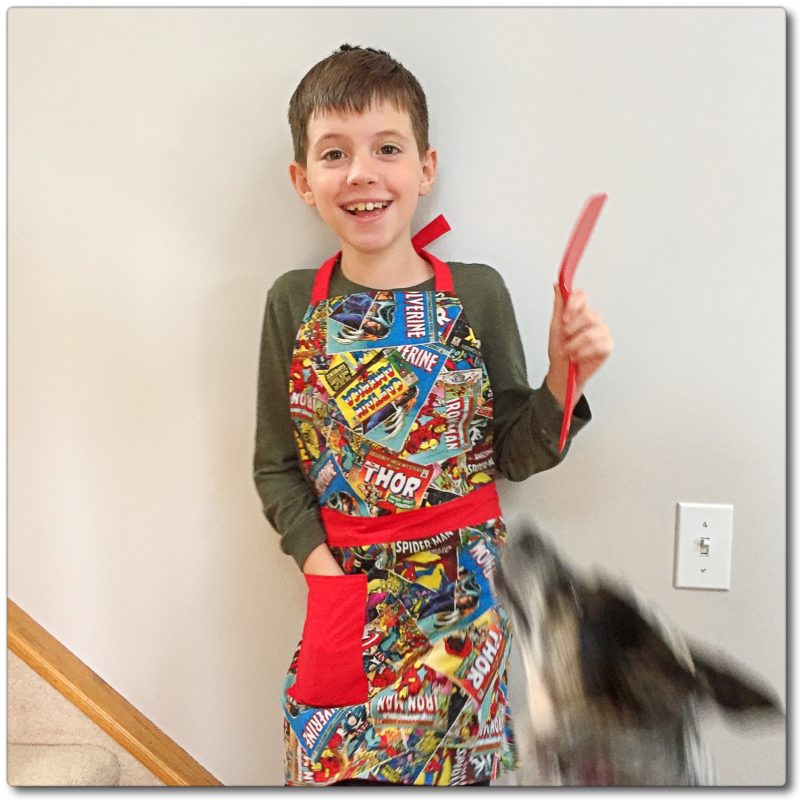
A few years back, I adjusted my full-length adult apron pattern and made a fun superhero apron for a friend Kim’s 6yo son. At the time, I had a 4yo and a 9yo… so the finished result would appear somewhere in between. 😉 (I also ended up removing the upper pocket, as it covered up too much of the action…)
Apparently, Kim’s son loved it… so much so, that he continues to wear it to this day. Yay!!! And now, my friend wants another for her second, now 6yo son as well. I thought I might actually document the process in case any of y’all wanted to make one for someone you knew (and so that if I make yet another, it’ll be easier to “remember” how to do with directions). If anything isn’t clear, feel free to refer to the adult instructions in the hopes that they’ll clarify things.
Materials
- 2 fat quarters worth of patterned fabric
- approximately 24″ worth of 44″ish wide broadcloth in a coordinating colour
- complimentary thread (one spool should do the trick)
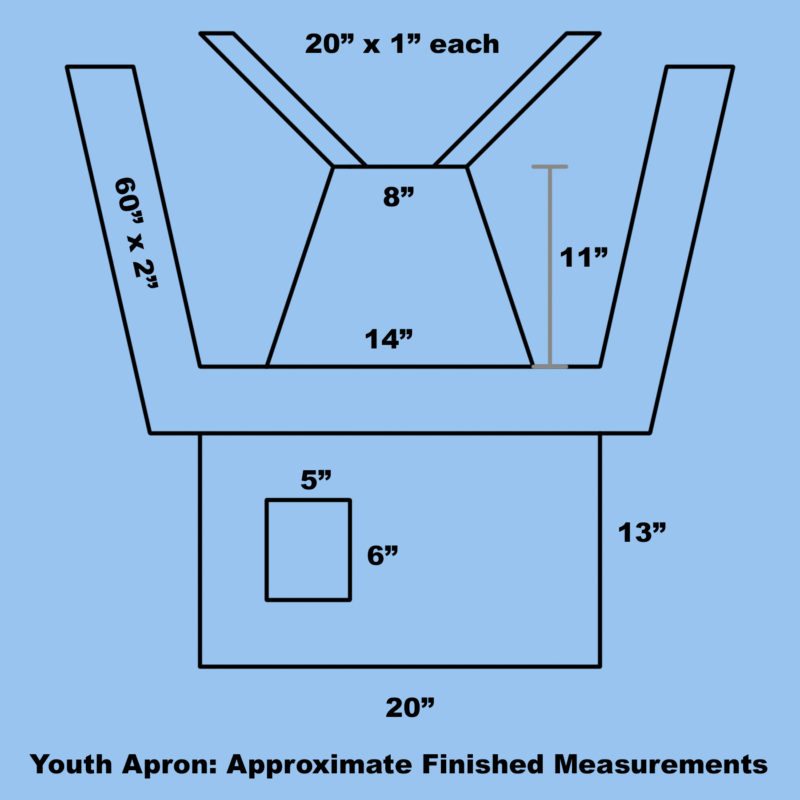
Because I have absolutely NO idea where my notes from 3.5 years ago are right now… I had to try and figure out where to even begin. Using the fabric I had left over from the project with the above photographs and a measuring tape, I approximated the sizes needed for the pieces…
So… on to cutting. Personally, I like to prewash + dry + shrink my fabrics before using, though I’ve heard that isn’t as necessary as it once was.
Cutting Your Fabric
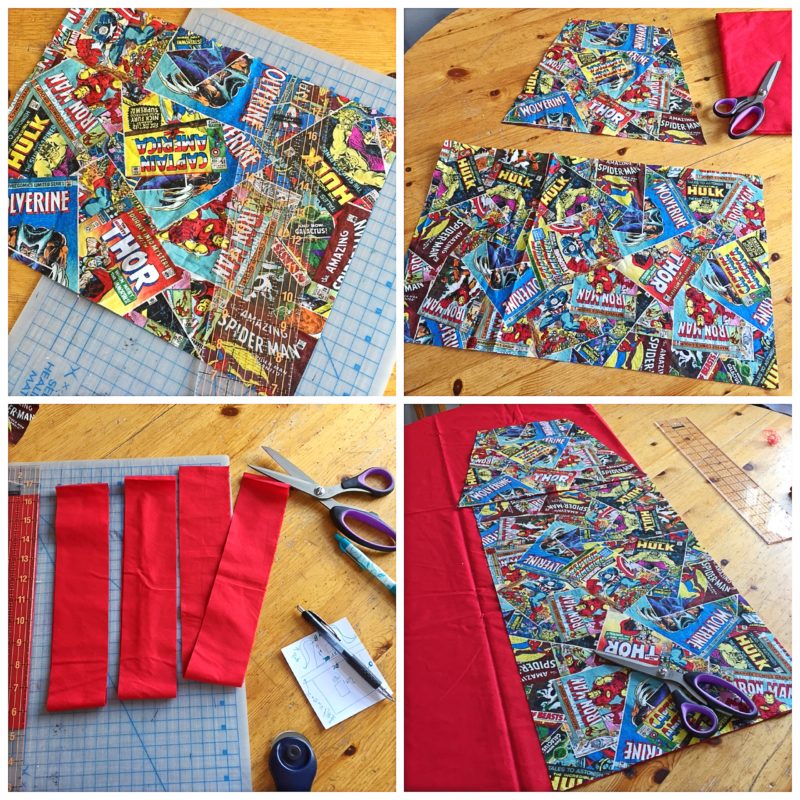
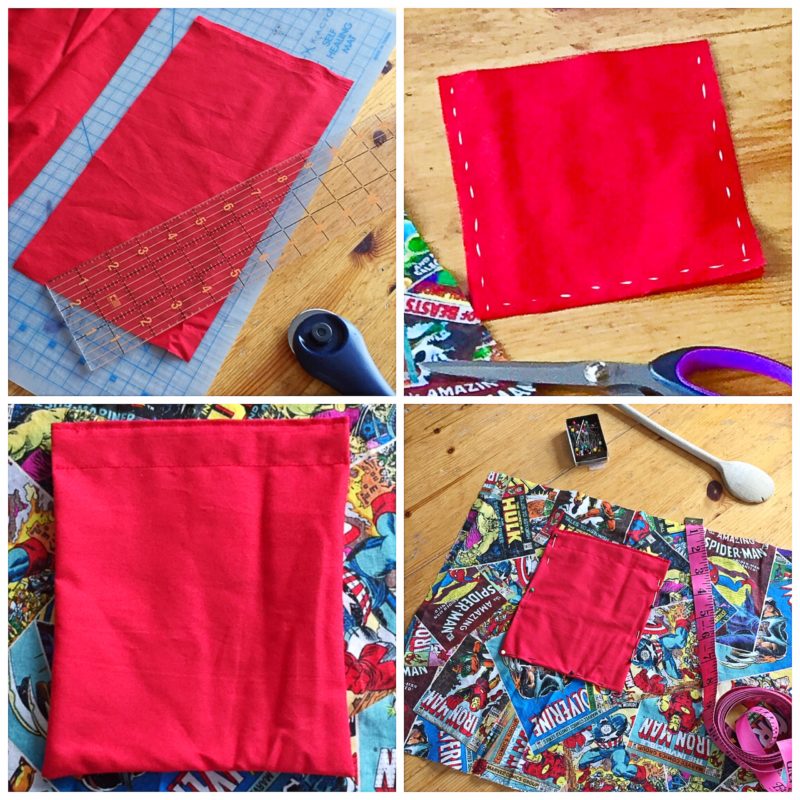
Step 1: Cut one fat quarter to measure 13″x20″. This will be the apron bottom front.
Step 2: Cut the other fat quarter to measure 11″x14″. Mark 3″ in from the edges along the top on both sides of this piece. Make diagonal cuts from these markings to the lower corners of the piece, making a trapezoid shape as seen above. This will be the apron top front.
Step 3: Fold your broadcloth with selvedges together (44″ folds to 22″). Fold in half again (22″ folds to 11″). Cut through all four layers, a total of 4 x 2.5″ wide (and approx 44″ long, folded) strips. Open two of these strips out and cut them in half lengthwise – for a total of 2 x 44″ strips plus 4 x 22″ strips. These will be the neck and waist ties.
Step 4: Open up the remaining broadcloth and using the pieces cut in steps 1&2 as patterns, cut out corresponding broadcloth pieces (one of each). These will be the apron top back/inside and bottom back/inside, respectively.
Step 5: With whatever broadcloth remains, cut two rectangular pieces for a pocket (I think mine were about 5″x6″, but adjust as desired).
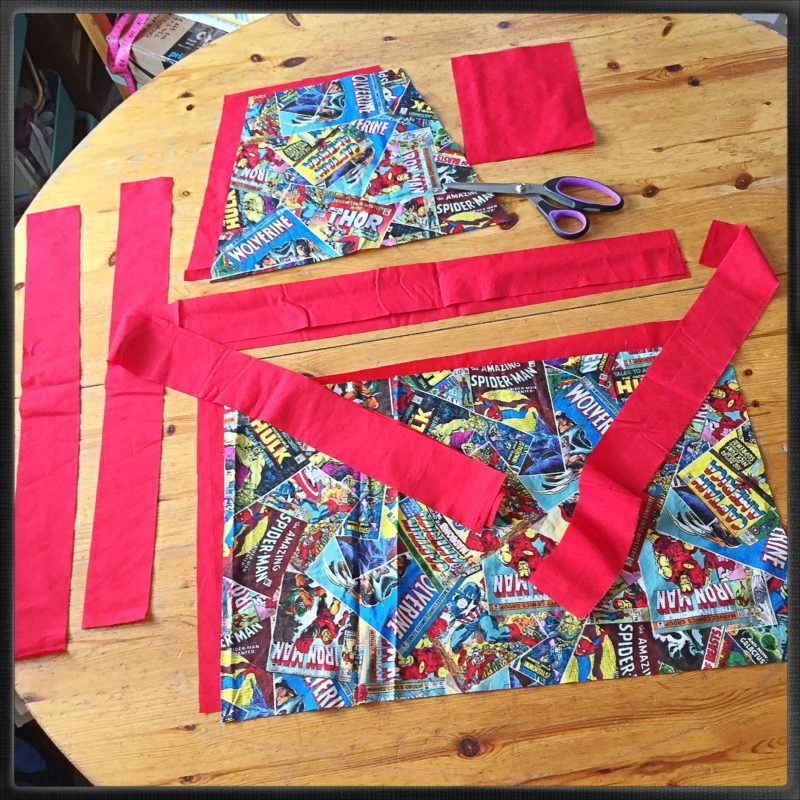
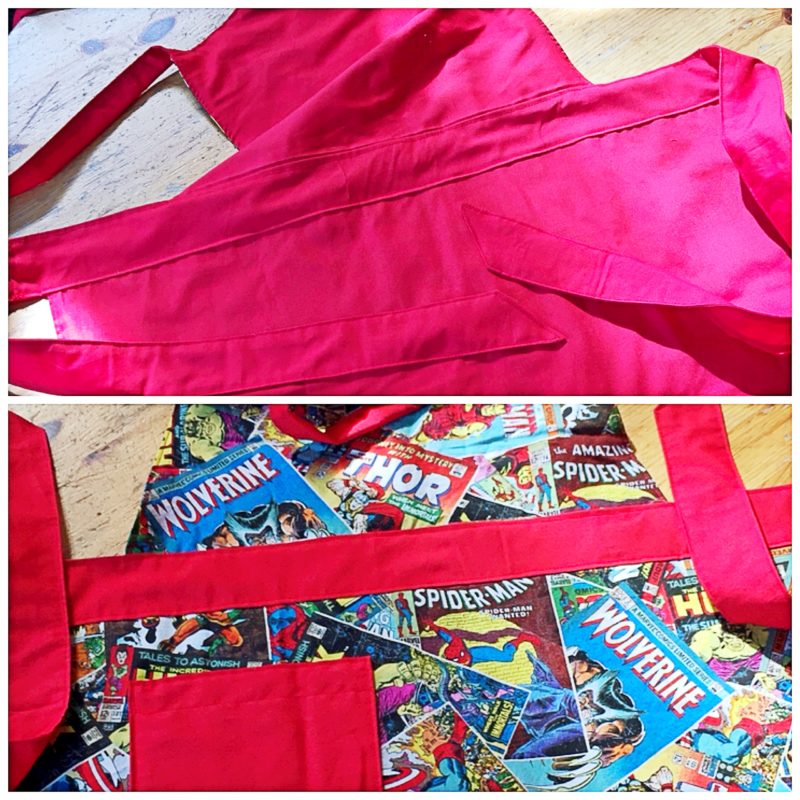
It should all look something like this…
Now it’s time to sew…
Pocket, Straps and Waistband
Step 1: Stitch the two pieces of pocket, with right sides together, along three sides at approx 1/4″ from the edges, leaving the “top” open. Clip the two “bottom” corners and turn the resulting pouch right-side-out.
Step 2: Fold the open ends in about 1/4″, pin together, and top-stitch the pouch closed. Add another row of top-stitching about 1″ below the first stitching for decoration.
Step 3: Pin the pocket to the front of the apron bottom as seen above: I did this approximately 2″ from the top and 4″-5″ from the side. Stitch the pocket in place along its two sides and bottom (leave the “top” unstitched). Set aside.
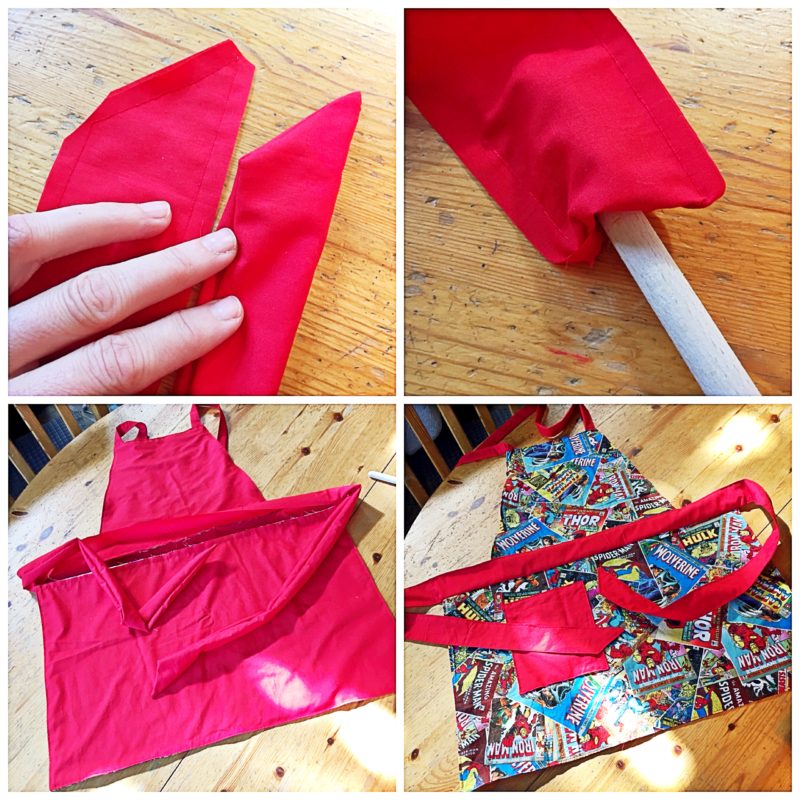
Step 4: Take one of the short strips cut, and fold it with right sides together, width-wise (to make a long, skinny ~22″x1″ rectangle). Stitch it along two of the cut (not folded) sides (i.e. along a long edge + a short edge). Repeat with a second short strip. Clip the corners.
Step 5: Using a long-handled wooden spoon or chopstick or something, invert these long tubes so that they are right side out. Top-stitch these tubes. These will be the apron straps. Set aside.
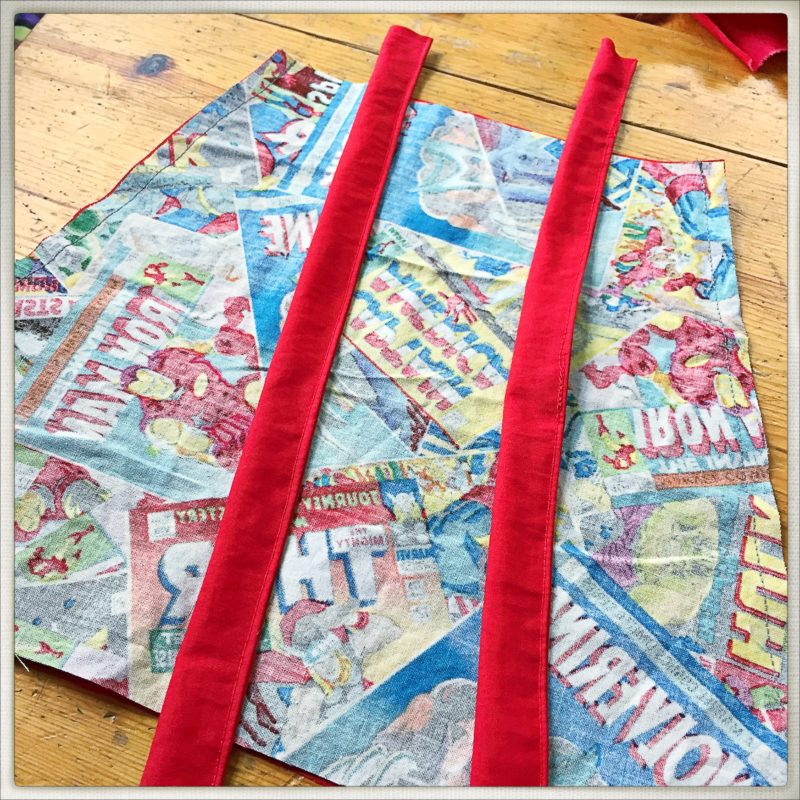
Step 6: With right sides together, sew one of the remaining short strips to one of the long strips. Open the strip up and put the hemmed part to one side. Top-stitch in place. Repeat this with the last two strips. These will be the apron waistbands.
Preparing the Pieces
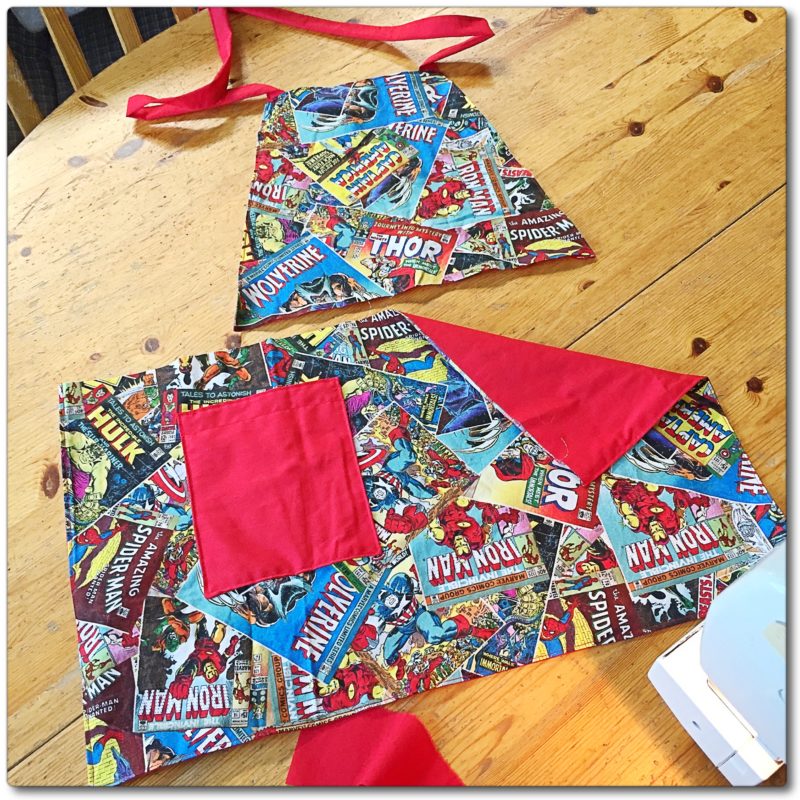
Step 1: Put the two apron top pieces (fancy+broadcloth, AKA front+back) with right sides together. Stitch along the two diagonal sides. Insert the straps between these two layers (with the open ends of the tubes lining up with the open tops of the apron tops). Pin the straps into the top corners of the apron (the closed ends should be hanging down below the bottom of the apron top, between the two layers). Stitch along the top. Clip corners. Invert the trapezoid (which is now sewn together on three sides). Top-stitch these three sides (the part closest to the waistband should still be open).
Step 2: Put the two apron bottom pieces with right sides together (the fancy/front piece should have the pocket on it already). Stitch along the two sides and bottom. Clip corners. Invert the rectangle so that the right sides are facing out. Top-stitch these three sides (again, the part closest to the waistband should still be open).
It should all now look something like this:
Now. Joining these two parts with a waistband…
Waistband
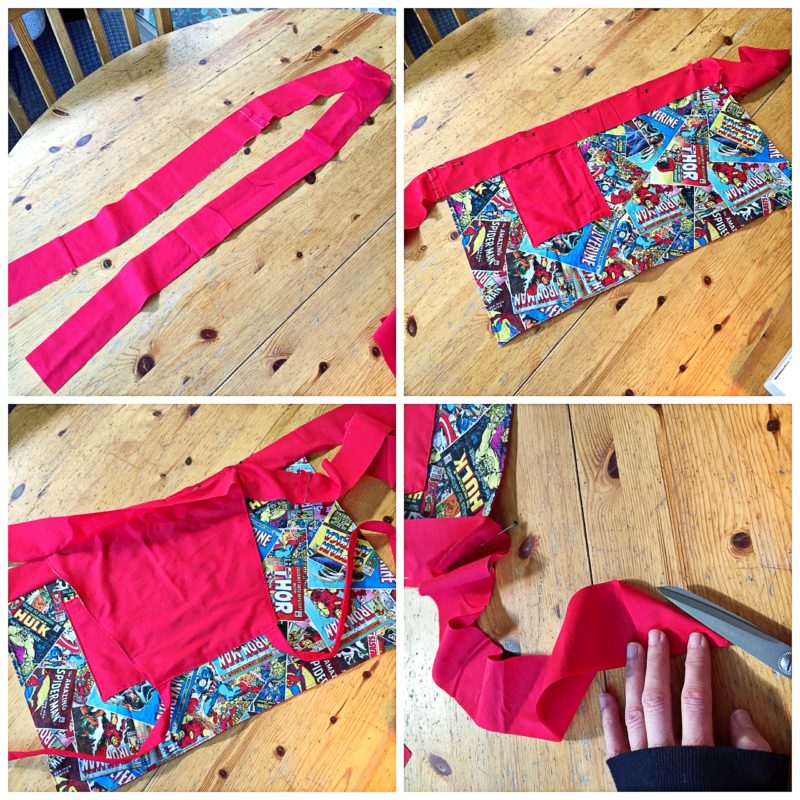
Step 1: Take the two extended waistband strips (one long strip sewed to one short strip, each) and fold them in half lengthwise to mark the centers. Also fold the apron top and bottom in half (along the open edges) to find their centers. Mark everything with pins.
Step 2: With right sides together, match the center of one waistband strip to the center of the apron bottom (along the open edge). Pin these two pieces together and stitch along the open end of the apron bottom to close it, as seen above. DO NOT top-stitch (yet).
Step 3: Open up the previous pieces. Find the center of the waistband (attached to the bottom) again, and match it with the center of the apron top front (again, with right sides together). THEN. Match the center of the second waistband strip with the center of the apron top piece, with the right side of the waistband facing the right side of the back/inside of the apron top. Both pieces of waistband should be right sides together.
[It’s a little confusing to explain, but essentially you should have the right sides of the waistband facing each other (one of them has the apron bottom attached)… and the apron top is sandwiched between them, with all the centers matching up… and it is all pinned together along the open edge of the apron top.]
Step 4: Fold the two ends of the waistband into triangles that you cut off (as seen above).
Now, we join top to bottom…
Joining Apron Top to Bottom
Step 1: Stitch along the lower/open edge of the apron top, attaching the two waistbands to it (and thus, closing it).
Step 2: Stitch the ends of the waistband ties together, essentially making a tall “U” shape: stitch FROM where the stitching on the bottom of the apron top ends, all the way around TO where the top of the apron bottom is. The waistbands should be joined together (with the apron top sandwiched between them) along all sides EXCEPT where the apron bottom is.
Step 3: Clip the corners (on the waistband ends).
Step 4: Using a long tool, invert the waistband ends (like you did previously with the straps).
When you spread the apron out now, it should look like an actual apron… with a opening in the waistband, along the top edge of the apron bottom, but only on the back/inside.
To finish the apron, fold that open edge of the waistband ~1/4″ under (it should follow the fold of the rest of the waistband), and pin it in place. Then top-stitch around the entire waistband.
And voilà…
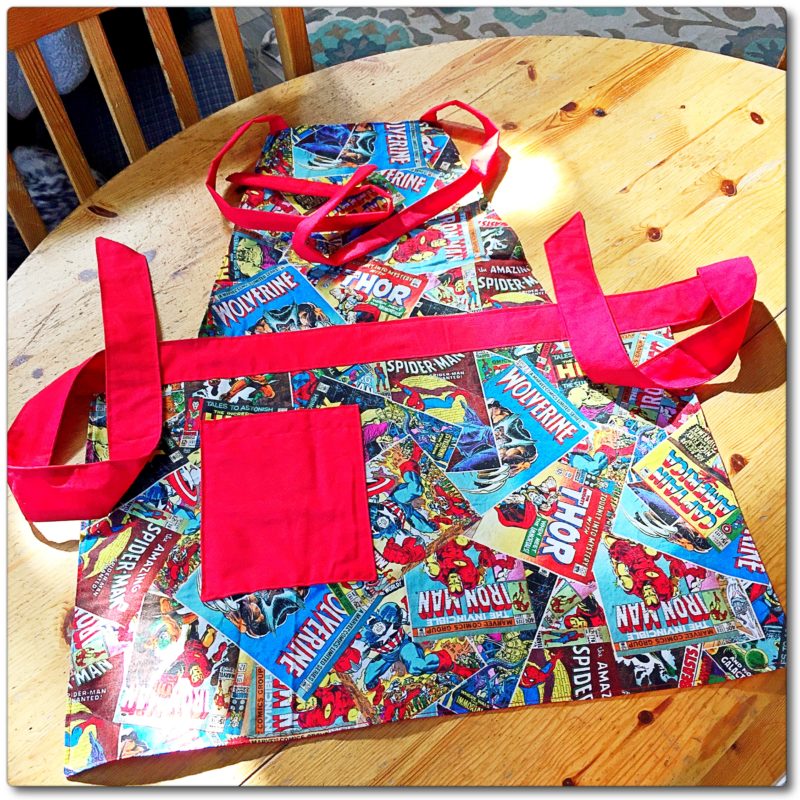
Your apron is complete. And it should look something like this when worn…
Whew. Well, I hope that all made sense. 😛 As I said, you can refer to the adult full-length apron instructions for help if any of this didn’t make sense. Or message me, and I’ll see if I can clarify.
Anyhow. Happy cooking, and happy sewing, y’all!!! =)

2 Replies to “Child Sized Full-Length Apron”
I just love these, Kate.
What a fantastic idea and your work is beautiful.
Aw, thanks Lisa. =)